Greetings, TouchDesigner developers! In today’s article, we’ll be going over the build of a 3D flight scene. This will be an opportunity for beginners to brush up on their instancing skills, as well as getting in touch with generative coloring methods for our scene. Instancing is a powerful technique that can bring your 3D scenes to life, and we’ll be using it to create a dynamic flight scene in this tutorial. If you are at the point where you’ve completed our TouchDesigner tutorial series, but you don’t know what the term “instancing” means yet, fret not! We will be covering in as much detail as a document allows all the vocabulary and techniques to get you started! Let’s go ahead and dive in!
Project file is available at the end of this post!
Instancing
In the field of 3D graphics, instancing is a strategy that enhances the rendering process by generating numerous replicas of a single entity, referred to as an instance. This approach is especially beneficial when a scene requires the display of numerous identical objects, as it considerably minimizes the computational burden and memory consumption.
Consider instancing as a manufacturing assembly line. The original prototype is the master object, and the mass-produced copies are the instances. Each copy can be individually adjusted in terms of its position, rotation, and scale, yet they all share the same foundational geometry and material properties. This allows for a high level of diversity and complexity in the scene while ensuring efficient resource utilization.
Flight Scene
In the context of our project, we’ll be using instancing to create a dynamic 3D flight scene. Our master object is a sphere, and through the use of a Particle SOP, we produce an instance system.

In this case, we are having a Grid TOP (placed in the background of our scene) act as the emitter of our particle system, with each point on the grid generating a sphere. Naturally, adjusting the value of rows and columns on our grid will adjust particle birth points accordingly.

Now, the effect of flying through our particle system comes from the fact that the spheres, or particles, move towards our point of view, creating a dynamic 3D scene with our camera being still.
In our Particle SOP, we have a set of system parameters that control the transformation of each instance, with available parameters such as drag, birth, and life expectancy. It’s important to tailor these settings to your liking! This, depending on whether you want a system with particles that linger for a really long time (at the expense of system resources) or more ephemeral scenes. In our case, we can have the particles “die” right after passing our field of view, allowing us to preserve system resources.
Instancing Transformations
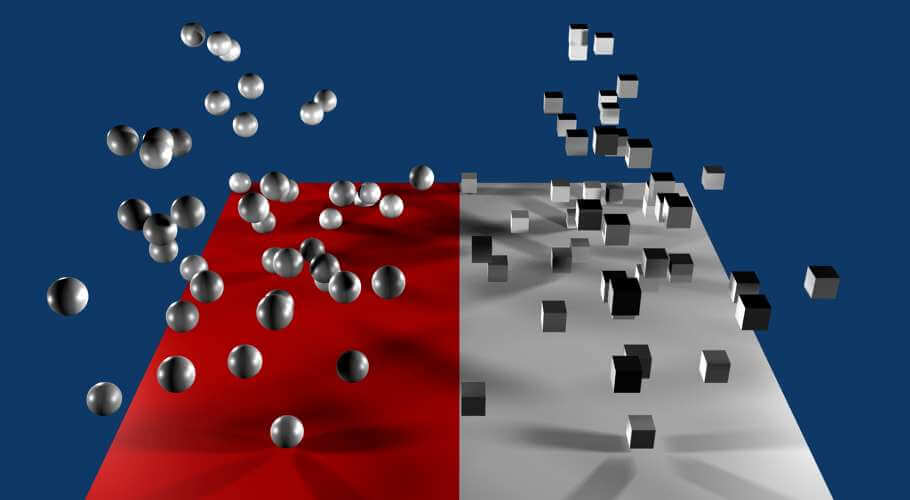
Now, at the moment our scene has a very homogeneous look. All instances have the same scale, and if we were to use a different geometric shape as our master we would notice that all instances are lined up in space. Let’s take care of that!

Through the use of Pattern CHOPs, we can reference our Instancing parameters to imprint scale, rotation, and many more transformations. Here we have set up a Random Pattern CHOP to affect the scale of our instances, as well as defined the range of these random values with a Math CHOP. The Pattern CHOPs generate a series of values that are applied to the scale and rotation parameters of each instance, adding a dynamic and visually interesting element to your scene.

Fade-In
Because of our point of view, we are in direct vision of the moment that new instances are born. The method to correct this includes many steps, but you can reference a finished version of the setup in the project files at the end. Overall the procedure is as follows: reordering the alpha value (transparency) of our instances, based on its life expectancy. Making them completely transparent the moment they are born, and gradually incrementing to the point where they are visible. This technique helps to create a smooth transition as new instances are born, enhancing the visual appeal of the scene. This will be included in the project file further down.

For a more visual explanation of this technique, please refer to Jack DiLaura’s training on instancing particles!
Color
Two practical and generative methods of adding color to our scene are Lookup and Noise TOP compositing. In the latter, we could simply multiply any colored pattern, including a noise, with our scene. This will give us a basic coloring pattern that overlays on objects.
Another solution is to use the Lookup TOP, with a Noise TOP as its second input. Here is what’s happening when we use this combination:
- The Lookup TOP takes the first input and examines its pixel values. These values are usually in the range of 0 to 1.
- It then uses these pixel values as coordinates to look up corresponding pixels in the second input, the lookup table. In our case, this is our color noise.
- The pixel values from the lookup table are then used to replace the original pixel values from the first input. This technique allows you to create complex, organic-looking textures and effects.


Get Our 7 Core TouchDesigner Templates, FREE
We’re making our 7 core project file templates available – for free.
These templates shed light into the most useful and sometimes obtuse features of TouchDesigner.
They’re designed to be immediately applicable for the complete TouchDesigner beginner, while also providing inspiration for the advanced user.
Experimentation
Okay, we now have our base scene! From this point on, it’s a must to explore the possibilities of making the scene more your own. Be sure to think of:
- Different master objects, or combinations of these.
- Deforming your instances with weird patterns or values, affecting scale and rotation.
- Adjusting your system parameters to tailor your needs.
- Explore different coloring patterns, and settings. The Look up TOP is powerful!
Project File

Wrap Up
I hope this little project serves as a starting point for further development according to your personal taste. Instancing is a powerful technique to save GPU power and generate all sorts of cohesive networks. If this has resonated with you, be sure to expand your knowledge in that direction! Don’t forget to share your own projects or experiments with instancing on our social media channels. We’d love to see what you come up with!
Until next time!