Many TouchDesigner developers join our community wanting to create stunning audio-visual performances or installations. Ableton is the go-to application for audio performances being used by DJs, producers, installation makers, and everything in-between. It’s flexibility, ease of use, and reliability have made it one of my favourites.
But how do you get Ableton to play nicely with TouchDesigner? How can we control one from the other? There are so many control protocols and different tools built to do this, but sometimes I find them a bit time intensive to setup for most simple-to-mid-level setups. So in this post I want to show you the fastest way to setup TouchDesigner to control Ableton Live. Let’s dive in!
Protocol
You must be thinking “What kind of secret protocol is Elburz going to use on this one? He says it’s fast, easy, and reliable in simple setups? HOW CAN IT BE ALL THREE AT ONCE?!?” Maybe you weren’t as intense, but it’s true. MIDI is all of those things. Surprise! Bet you didn’t expect me to tout MIDI. I love MIDI. For what it is, it is an incredibly stable, well-supported, and great general purpose communication protocol. While I do agree that for more complex setups, multi-machine work, more resolution, more data types, etc etc, that there are better protocols to use, OSC being one of the main ones. BUT for fast and easy setup of a TouchDesigner network to control your Ableton session in a good-enough manner, MIDI is my tool of choice.
Setup – Windows
I’d be lying if I said there was nothing you need to do to setup MIDI, but it’s relatively easy. On Windows systems, you need a loopback device. This is a piece of software that pretends to be a MIDI hardware device to your apps, but in fact it’s just like a virtual patch cable that can route the MIDI outputs from one app into another. One of the ones I like using is LoopMIDI. It’s free to download and dead simple to use. Once you download and install it, all you have to do is open it and click the “+” button at the bottom, like so:
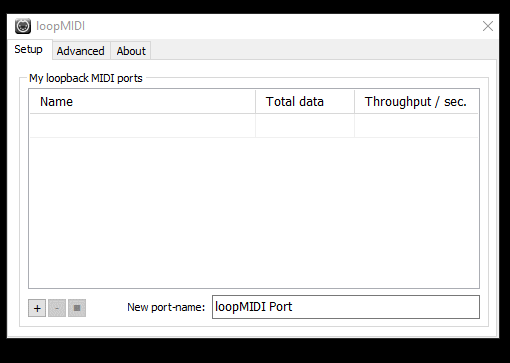
That’s it, we’re now ready to roll on Windows! Make sure LoopMIDI stays open either in the background or in your bottom-right tray area, otherwise the MIDI data will not be going anywhere!
Setup – macOS
The macOS setup is quite similar except that macOS has the ability to route MIDI native to the OS. Instead of re-writing the steps here (since I’m not a macOS user and can’t make a quick GIF for you), this page from Ableton has all the steps you need and has images to help you get through the few steps of setting up a virtual MIDI device.
Getting Ableton Ready for TouchDesigner
Once you have your virtual MIDI device setup, we just have to hop into Ableton and activate the Track and Remote toggles for the virtual MIDI device’s input in the MIDI I/O section of the settings, like so:

The Track option allows Ableton to receive the MIDI note and control change messages from the device. This is the button we need to turn on if we want to send MIDI notes and control changes to synths and play things in Ableton. The Remote option is what allows us to use the same incoming MIDI data to map onto Live parameters and trigger things like clips in the clip grid. We want both to be on. Sync is mostly used for MIDI clock messages, but if you’re doing that level of synchronization, then using Ableton Link or the TDAbleton package in the Palette are more what you need.
Getting TouchDesigner Ready
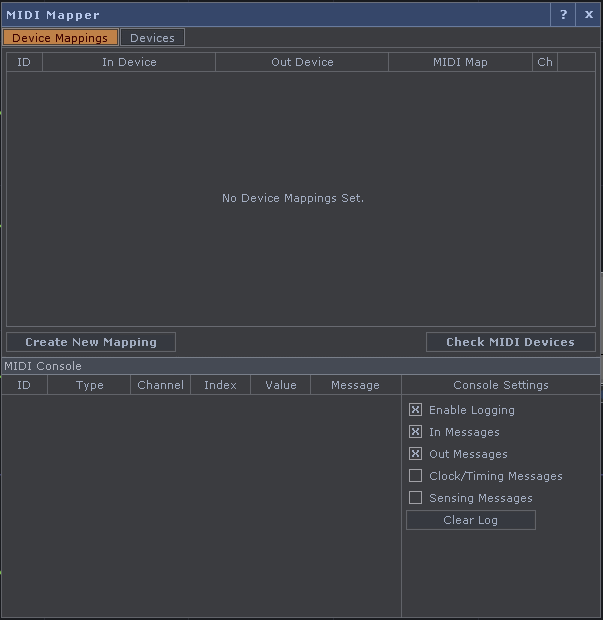
The first thing you’ll want to do is enable the MIDI device in the MIDI Device Mapper found in the Dialogs menu at the top of TouchDesigner’s window. Open the window, click Create New Mapping, and select your virtual MIDI device from the input and output dropdown.
Creating Our Controls
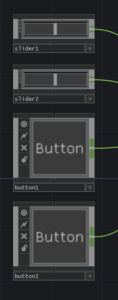
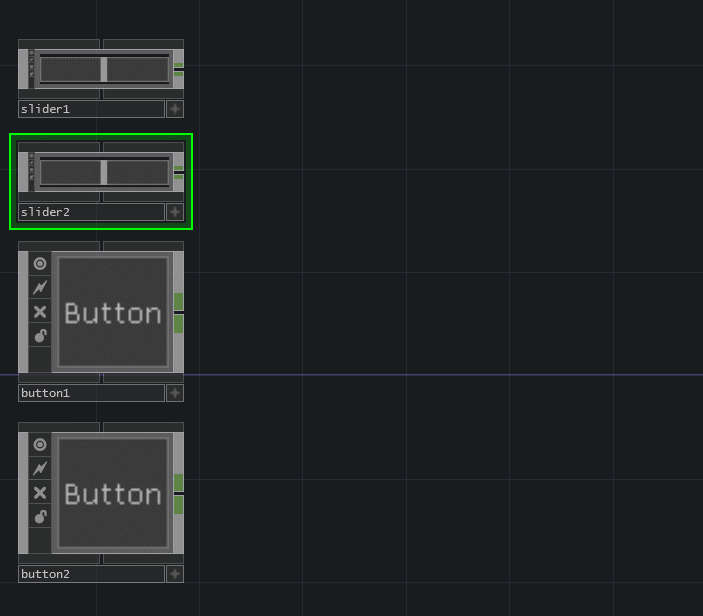
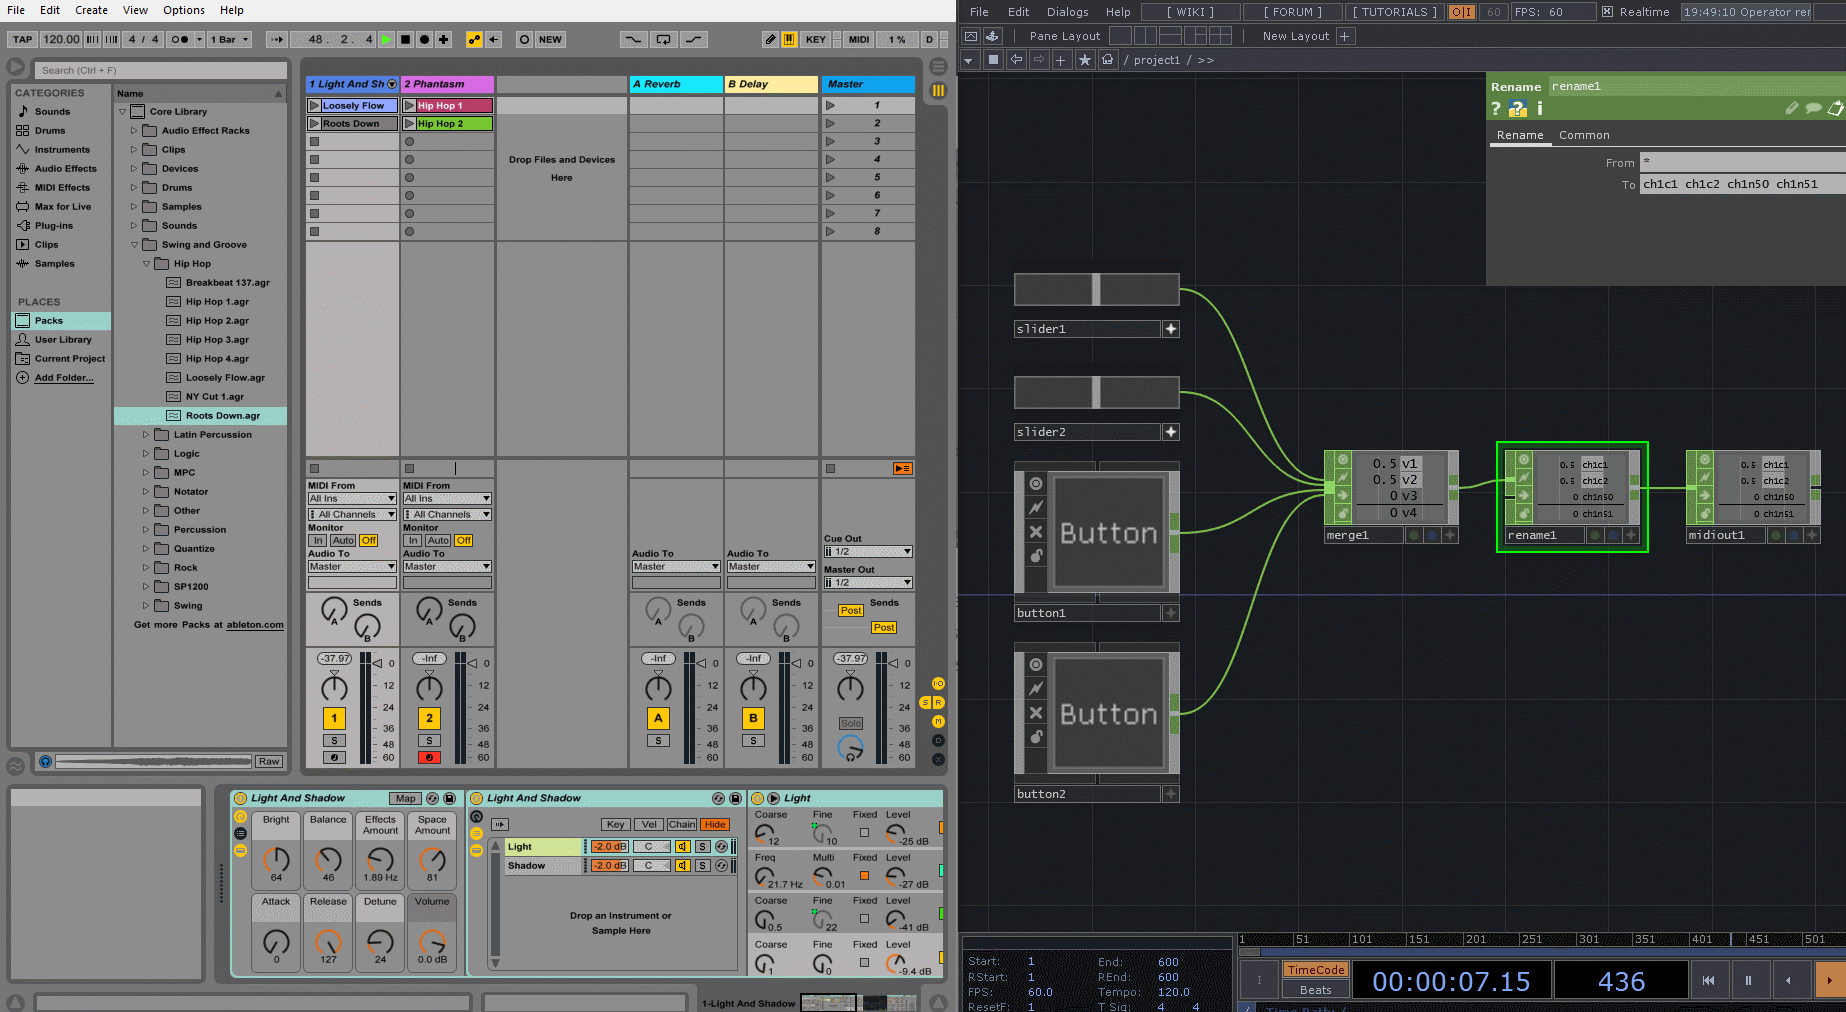
Then we need to figure out what you want to control in Ableton and how you’d like to control them. For this example, I’ll make 2x Slider COMPs and 2x Button COMPs to control 2 volume sliders in Ableton and trigger two clips:
Once we have our controls, we only need to do a little bit of processing. First we’ll merge all the channels together into a single CHOP using a Merge CHOP:
Now the part that most new users miss (and thus never get this working): renaming channels for MIDI output. TouchDesigner uses a name-based output system to map your channels to the different kinds of MIDI values. If you go ahead and make a MIDI Out CHOP and check the Note or Control page of the parameters, you’ll notice there are all kinds of strange letters next to the different types of MIDI values. These designate how we have to rename our channels for them to actually work. Since we have 2 sliders and 2 buttons, we’ll want 2 control change values for the volume controls and 2 different notes that can trigger some clips.
I’ll add a Rename CHOP after my Merge CHOP and rename my slider channels as ch1c1 and ch1c2. Then I’ll rename my button values to be ch1n50 and ch1n51. The ch denotes the MIDI channel that my values will be sent to. The c denotes a control change value and the number after it denotes which of the control change values it is. Similarly, n denotes that it’s a MIDI note and the value after it is which MIDI note I’m going to be turning on and off.

Then the final step is plugging that into my MIDI Out CHOP! So all together it will look like this:

MIDI Mapping in Ableton
Almost there! The final step is to map our new values in Ableton. Ableton has a great MIDI mapper you can get to using Ctrl + M on Windows and Command + M on macOS. When you hit it you’ll see everything in your session light up blue:

It’s easy from here. We just click on whatever we’d like to map and then make a change to the value in TouchDesigner. So to map my volume sliders, I’ll click on a slider in Ableton, then go back and move my slider in TouchDesigner. That’s it!
You’ll see a few things happen when you do this. Firstly, the value you’re mapping to has a small rectangle with some values appear in it’s top-right corner. Then in the left-side pane in Ableton, you’ll see a new entry appear that tells you what value is getting mapped to where. Before we talk about values, let’s just go ahead and map all our controls:

Now we can turn off the MIDI mapper in Ableton and test our values. Voila!

From here, everything is preference. You may want to change your notes to be momentary buttons instead of the default toggles I used. You may want to rescale or clamp your slider ranges. Whatever else you need, the important part of getting setup is done!
Get Our 7 Core TouchDesigner Templates, FREE
We’re making our 7 core project file templates available – for free.
These templates shed light into the most useful and sometimes obtuse features of TouchDesigner.
They’re designed to be immediately applicable for the complete TouchDesigner beginner, while also providing inspiration for the advanced user.
Further Notes about TouchDesigner & Ableton
A few things you should know about this process to avoid any unnecessary frustrations:
- Ableton will assign the most recently changed MIDI value to whatever you’re trying to map. So when you’re mapping, don’t send things like LFOs or constantly changing values out of your MIDI Out CHOP, otherwise it will be impossible to map your controls. Normally I like to do this mappings with either a Constant CHOP with all the correct MIDI names or like I did above, using a simple UI that I can control during the mapping phase, then afterwards I can route whatever other values I like that are dynamic to the MIDI Out CHOP
- Accessing anything that we didn’t specifically discuss here is just as easy as looking up the naming convention inside the MIDI Out CHOP. Want control change 6 on MIDI channel 4? Rename to ch4c6. Etc etc
- Want to go deeper? You should read the MIDI Out CHOP reference on the TouchDesigner wiki.
Wrap up
Even though this post is a little bit long, once you go through the process once, you can get it setup from scratch in less than 5 minutes. More or less full control of Ableton from TouchDesigner in less than 5 minutes? Easy and straightforward? Yes please! I’ll take it! Hopefully this will remove some barriers the next time you want to make and AV performance or installation and were worried about how you’d control your Ableton patch from TouchDesigner. If you do end up making more complicated patches, then I’d recommend using more robust tools like TDAbleton, but for simple projects with some simple controls and clip triggering, this system can get you very far in a short amount of time. Enjoy!