
Do you want a MIDI controller but don’t know what to get or where to start? Look no further! If you’re after a good MIDI controller for beginners, then this MIDI device guide is just what you’re looking for. The MIDI devices covered are by no means the best MIDI controllers out there, but what I use in my toolkit and what I find handy without breaking the bank.
What is a MIDI controller?
MIDI is an acronym for Musical Instrument Digital Interface, it’s a protocol of communication between musical devices. A controller is hardware or software that generates and sends MIDI data to the computer to control different parameters of your softwares like Ableton or TouchDesigner. Besides audio control, it is also commonly used in live lighting or visual control. MIDI inputs have become a really easy to use general communication protocol in media environments despite it’s age!
Different MIDI devices for different uses
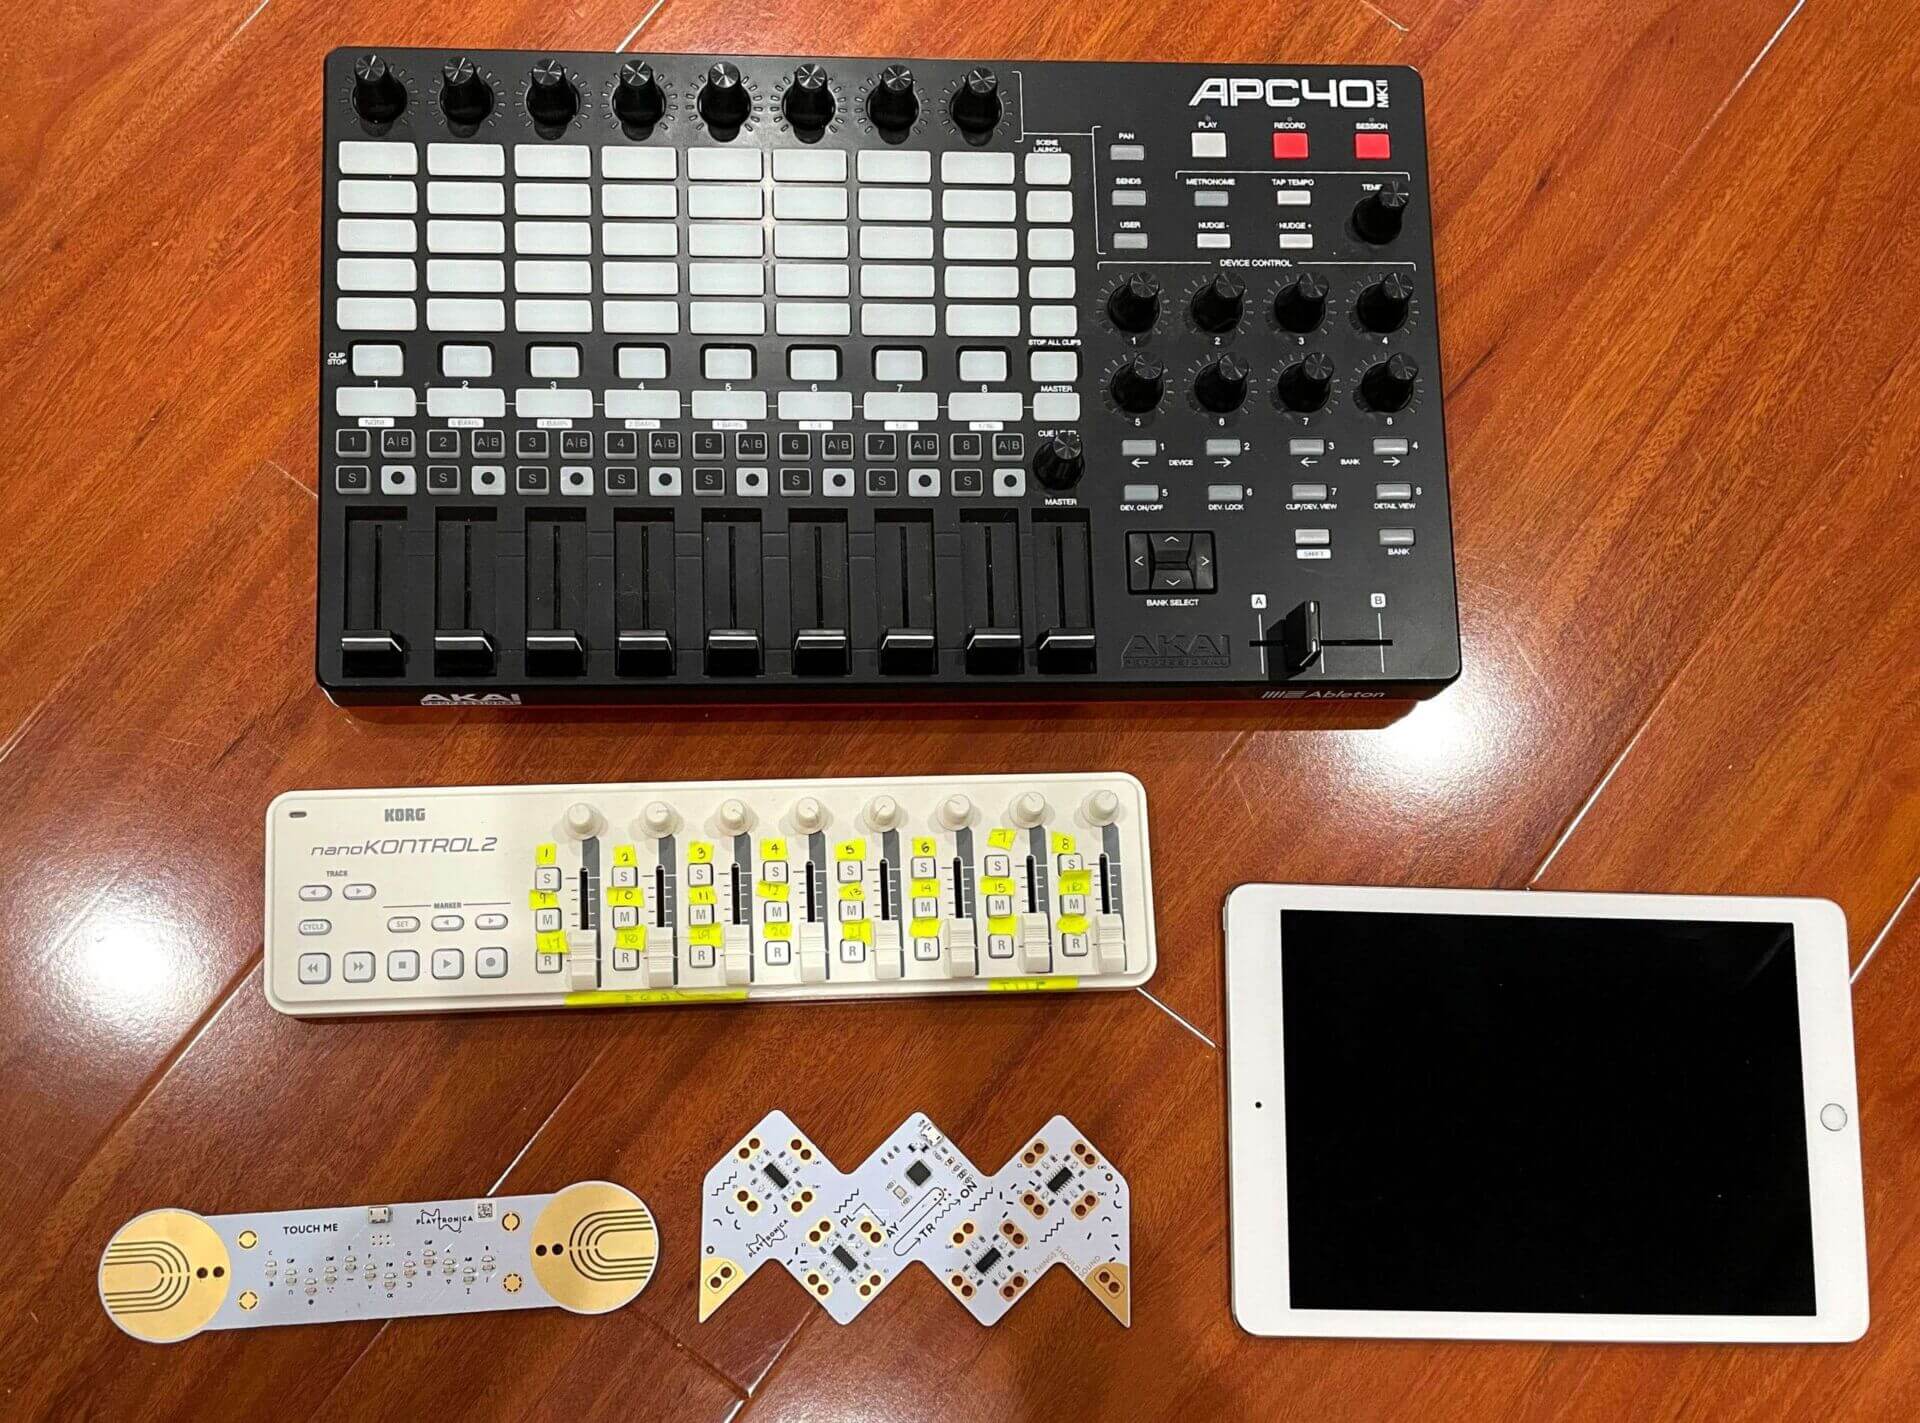
The 4 MIDI controllers I will cover are the APC40 MK2 (for more general show control usage), NanoKontrol2 (light and portable for travel), Playtronica Touch Me (MIDI sensor for interactivity), and TouchOSC (where you can use a tablet device to control the parameters).
AKAI APC40 MKII

Price: $299 USD
The APC40 MKII is a popular MIDI controller for its several knobs, buttons, and sliders. It has 9 faders on the bottom, 8 control knobs across the top, 8 device control knobs on the right, 40 LED push buttons, and more. It’s a great all around controller that is well built and is at a great price point for what it delivers.
Pros
- LED customization: The 40 LED push buttons can have custom RGB colors depending on your setup
- Several knobs, buttons, and sliders to control
- Lightweight for its number of buttons
Cons
- Plastic built: The plastic framing allows the APC40 MKII to be lighter, but it doesn’t feel as solid
- For the number of knobs, buttons, and sliders, it can seem intimidating or overweening if you’re just getting started with MIDI systems
Similar MIDI device recommendation:
If you like the APC40 Mk2 but are looking for something that integrates more seamlessly with Ableton specifically or has features like a small screen, the Ableton Push 2 is another option to take a look at. It’s at a higher price point, but it does pack a lot of advanced functionality in it.

KORG NanoKontrol2

Price: $89.99 USD
The portability of the NanoKontrol2 is the selling point! This device is a great MIDI keyboard for travel or small projects. It is compact, light, and under $100, which also makes it great if you’re just getting started. If you get this MIDI controller, I recommend buying a case for it, especially if you bring it around. It will keep the USB cord with it and protect the device from getting banged up in your bag.
Pro Tip: If it’s difficult to remember what button, slider, or knob is for what, you can use painters tape or masking tape on the buttons or on the device itself and write on those to label the different controls.
Pros
- The Keys are quiet and helpful when using a audio sensitive gigs, as there aren’t click sounds when you hit the buttons
- It’s so incredibly portable, slim, and light!
- Great MIDI controller for beginners because it doesn’t overwhelm you with options
- A reasonable price for what you get
Cons
- Easy to accidentally move faders due to its small scale
- Can be hard for folks with large hands
- Hard for multiple folks to use the same device at the same time
Similar MIDI device recommendation:
If you don’t need sliders in your types of work or performance, you can look towards the Behringer X-TOUCH MINI, which is a very similar device but more focused on knobs and buttons.

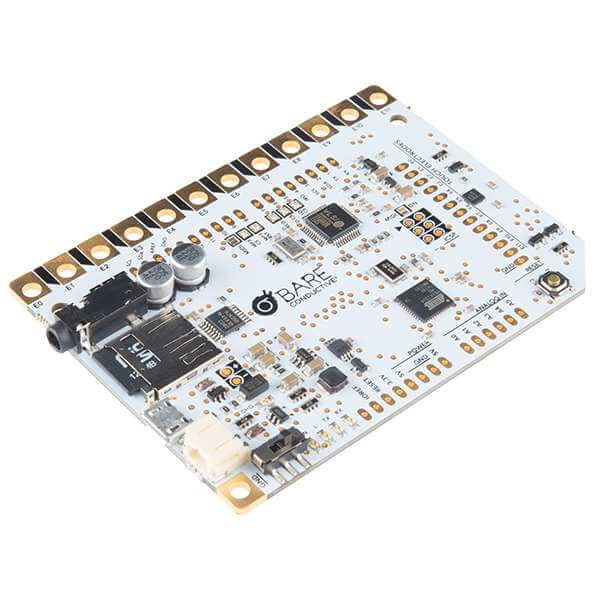
Playtronica Touch Me
Price: $89.99
The Touch Me device is a fun sensor where you can use the conductivity of touch to control parameters! I’ve made a YouTube video on using these great devices that can give you a feel for what you can do with one:
It’s really interesting because it allows you to create interactivity with things that aren’t just sliders, knobs, and plastic controllers.
Pros
- Can be used for interactivity that doesn’t involve plastic buttons, knobs, and sliders
- It is slim, compact form is easy to carry and hide in projects
- Allows for A LOT of creativity
Cons
- Need alligator clips to receive the input
- Not as flexible in terms of input types, so it may or may not work for specific situations
Similar MIDI device recommendation:
Get Our 7 Core TouchDesigner Templates, FREE
We’re making our 7 core project file templates available – for free.
These templates shed light into the most useful and sometimes obtuse features of TouchDesigner.
They’re designed to be immediately applicable for the complete TouchDesigner beginner, while also providing inspiration for the advanced user.
Touch OSC

Price: $9.99 USD
Rather than all hardware, you can use TouchOSC to create a touchscreen MIDI controller on your tablet device. This can be useful in many situations. For example, if you’re just getting started, you might not want to invest in a full controller yet, and you likely already have a mobile phone or tablet laying around. You can use this to figure out what kind of controls work best for your workflows before you go out and buy a physical device. It can also be great for more advanced users because you can combine it alongside a physical control for further customized controls.
Pros
- Custom interface where you can design as many faders, buttons, sliders, etc as you like
- Ability to change your controller layout per project
- Works over WiFi so you can walk around the venue and still control your comuter
Cons
- Device and computer need to be on the same network to have them communicate. If the network is weak or the connection can be unstable, the communication can feel laggy or choppy
- Touch screens have their advantages but are hard to use without directly looking at them (unlike buttons and sliders you can feel through with your hands without looking as often or directly)
Wrap Up
It can be overwhelming when starting to integrate MIDI channels into your TouchDesigner workflow. Hopefully, this blog will give you insight into the different devices available and a clearer idea of what you need for your interactive & immersive projects.
