Hello, TouchDesigner developers! I am thrilled to present today’s blog post, where I will take you through the creative process of producing a music video in TouchDesigner. (If you’re not familiar enough with the program yet, check out our beginner guide to TouchDesigner).
The purpose of this publication is to provide you with valuable insights into the process of making a music video with TouchDesigner, including the mistakes that were made – so that if you decide to embark on a similar journey, you can avoid those same pitfalls. So, without further delay, let’s dive in!
The Project
This music video was produced for the song Tenebris, from the album Obscura, by the talented Italian artist Plaster, also known as Gianclaudio Moniri. A decade ago, I reached out to Gianclaudio because I was captivated by his music, and our creative relationship evolved naturally, culminating in this collaboration. I want to emphasize that you should never hesitate to contact the artists you admire and wish to work with! You never know where such connections might lead!
Here is the music video!
Main Concept
Some good practice to execute when starting a music video project is to have a basic sketch of the storyline you would like to achieve. And that’s exactly where I started.

No matter what your creative process looks like, whether it involves sketching by hand, digital design, or simply conceptualizing mentally, it’s crucial to take time to digest those initial impressions and capture them in some way. In my case, the song “Tenebris” – which means “darkness” in Latin – sparked thoughts of the opposite concept: light. As a result, I developed a storyline centered around a light particle embarking on a journey through various environments, with a destination in mind. Let’s take a look at how this light particle was created!
Light Particle
The concept here was simple. Through the use of particles in TouchDesigner I started to create the illusion of a particle-spewing sphere moving through space. So starting with a very small sphere as the emitter, I tweaked Normal settings in a Point SOP as well as forces in the Particle SOP.

Ultimately I added some Noise CHOPs to the sphere’s translate to give it an organic movement.

If you are not familiar with these particle techniques you must watch our very own Jack DiLaura’s particle approaches. Here’s a link:
Camera
Okay so, I had my main character ready. Now it was time to think about how I was going to “follow” it through the different scenes. By the use of a Circle SOP as the path for the Camera COMP, and a Null COMP with the particle sphere’s coordinates as the Look At, I made sure to have the camera locked to this object in space regardless of what was happening in the surroundings.

If you haven’t tried this technique yet, here is a tutorial on Generative Camera Paths by Elburz!
By the way, It’s not a bad idea to have several cameras in your setup in case you are looking to change scenes quickly. These can be automated with CHOPs or Python scripts!
Environments and Scenes
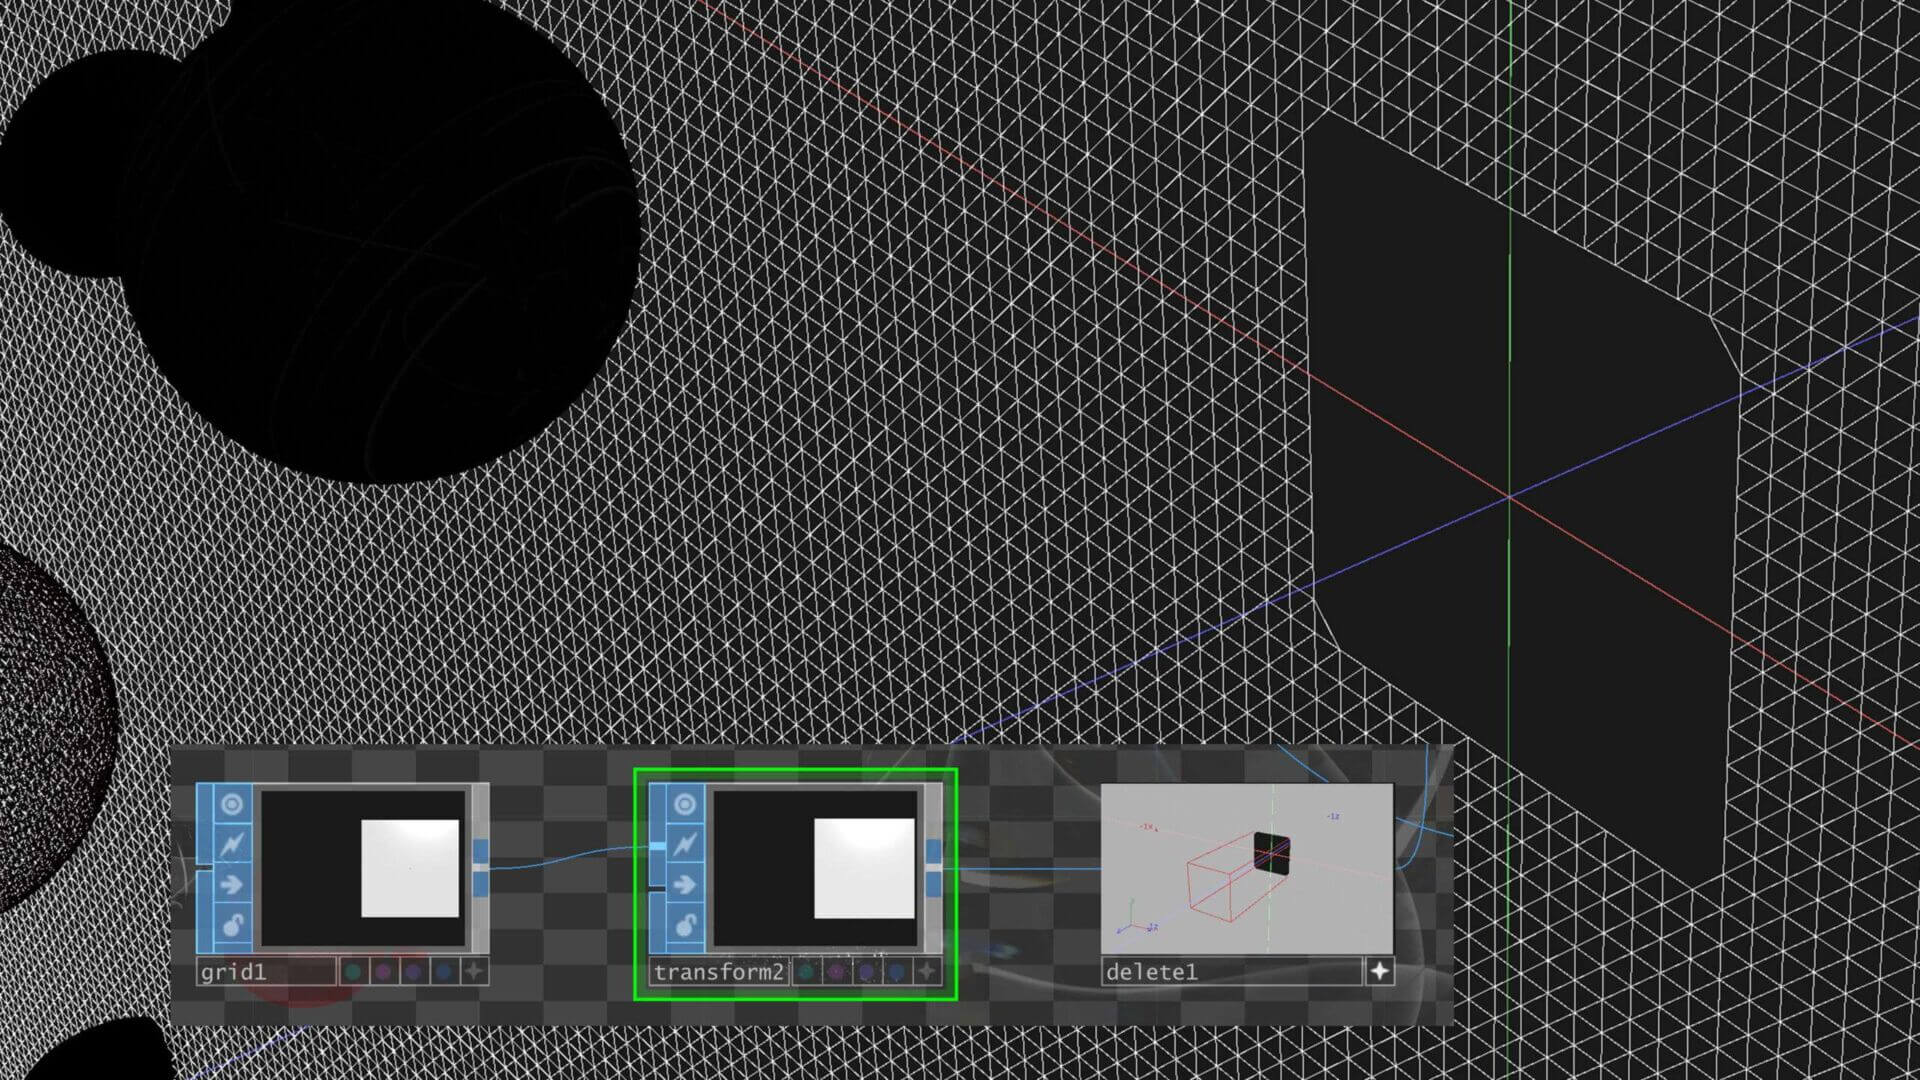
Keeping in mind that the particle sphere is not moving in the Z-axis I had to create environments and scenes that moved through the sphere’s surrounding space, rather than the sphere moving through them. Using particles once again, I created basic emitters with particles travelling past the sphere. An operator involved in this setup is the Delete SOP.
Delete SOP
This operator helps bypassing a region of the emitter in order to avoid having the particles crash directly into the sphere, or the camera when located behind the sphere.

This is crucial to think of when attempting scenes like the one in the following gif:

If you are interested in some tips and tricks for the Delete SOP make sure to visit this article I wrote:
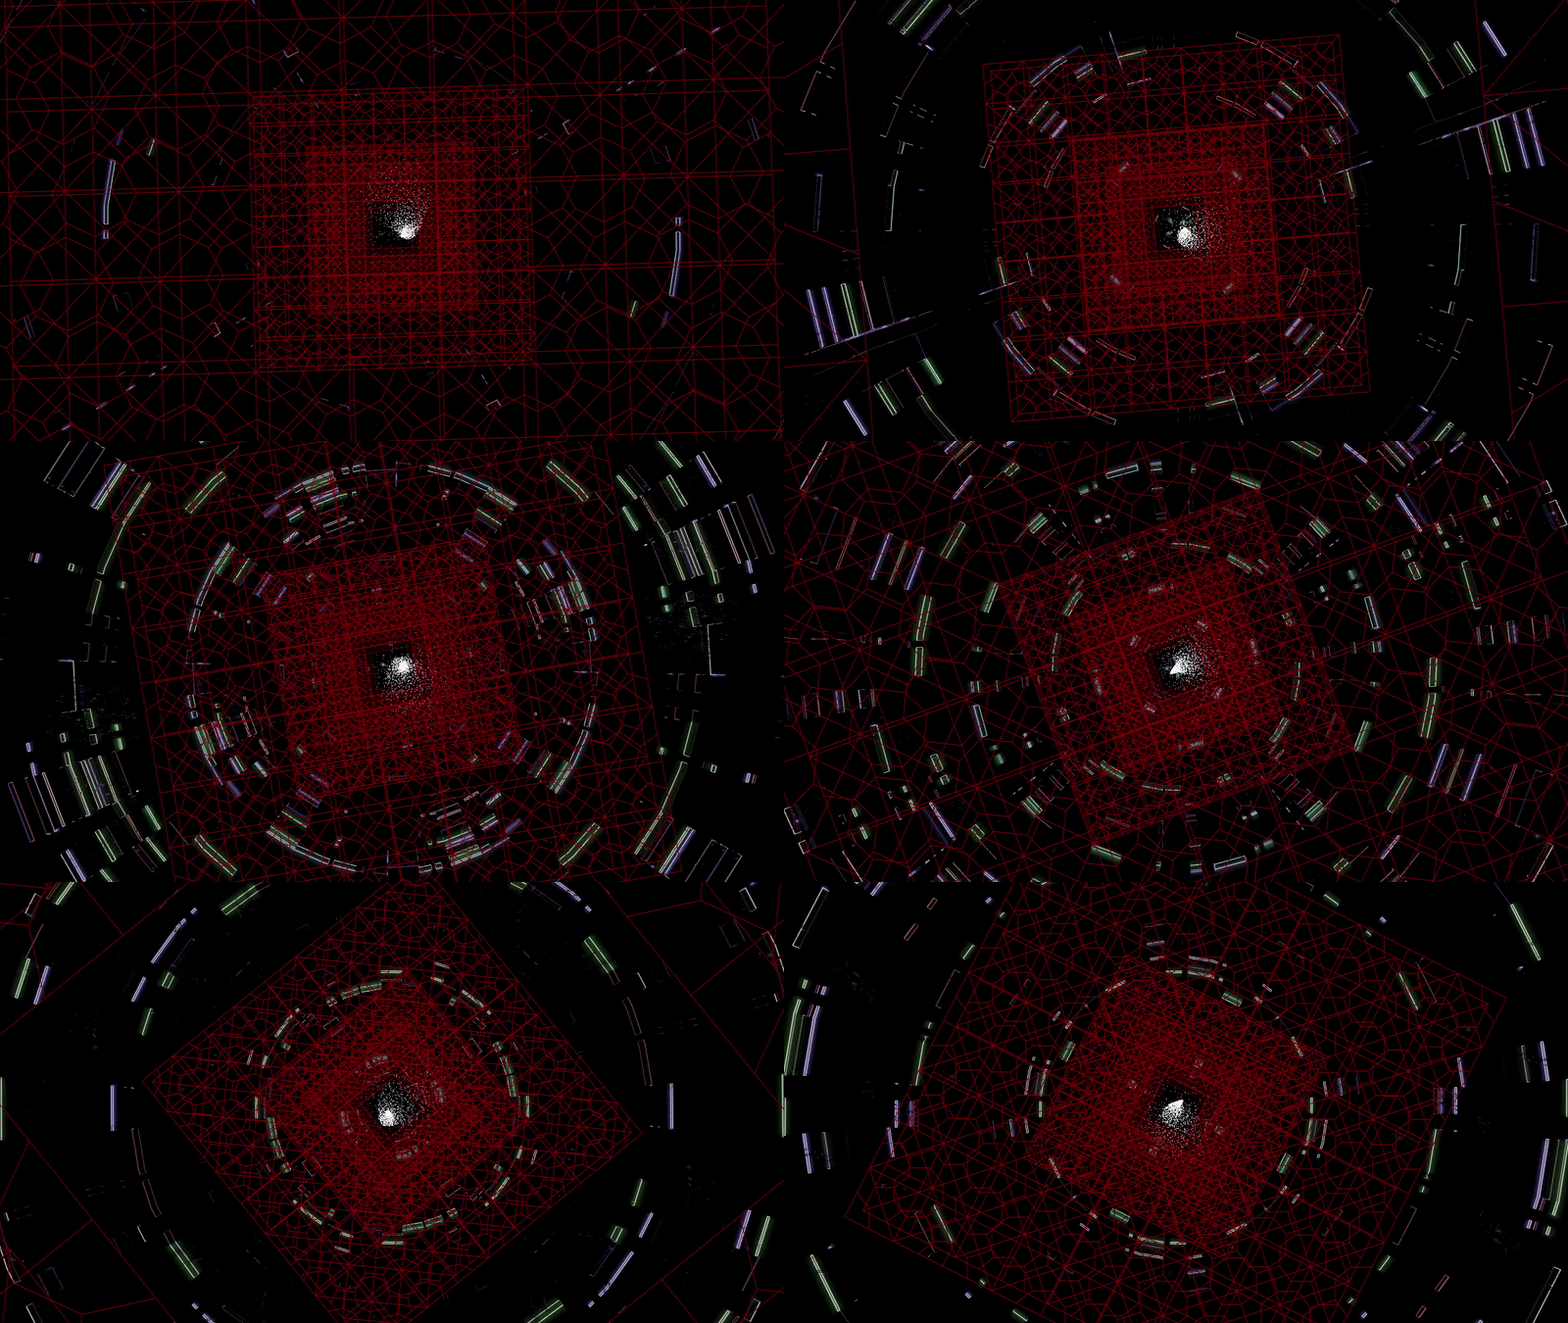
Some of the emitters were single points added with the Add operator, and some used grids to create particle fields. For grid emitters it is useful to use basic instancing techniques to affect scale and rotation of the particle field and generate more visual range.
Background
After having the main character and most of its surroundings set up, I added a Sphere SOP large enough to surround the whole scene. Similar to the way a PBR material uses an Environment Map to gather its light, but in this case the sphere has a Constant material to “project” textures and create this surrounding object. Here is a view from the outside of the sphere.

Song Histogram
For those of you interested in the track histogram visible at the beginning of the video: it was done thanks to a tutorial by Ab_out, and here is the link to it!
Recording/Performing
I think an important starting point for starting a project like this is determining how locked together you want the visuals and audio to be. In this case I opted for a freer and performing approach where, through the use of simple Keyboard In and Timer CHOPs I could affect opacity levels to make objects and scenes appear and disappear from the scene.

This is a very different approach from the tight performance a setup with TDAbleton and some Python scripts could provide. If you can imagine already, it’s easy to start imagining a setup where measures and bars are strictly assigned to certain scenes or camera settings, essentially rendering a live performance for the track. This is something definitely worth exploring for TouchDesigner and Ableton users!
Get Our 7 Core TouchDesigner Templates, FREE
We’re making our 7 core project file templates available – for free.
These templates shed light into the most useful and sometimes obtuse features of TouchDesigner.
They’re designed to be immediately applicable for the complete TouchDesigner beginner, while also providing inspiration for the advanced user.
Reflections on the process
Now to the good part! Here are some things I plan to correct and implement for future projects:
- As your scenes become more complex, it’s crucial to test your recordings regularly. I learned this the hard way when I had multiple scenes ready to record, only to discover frame dropping and glitches when I hit the record button. To avoid this headache, it’s better to make visual sacrifices and optimizations during the process rather than at the end.
- Proper file organization is essential when working with several scenes and various camera takes. You may end up with a multitude of files, including exports and TouchDesigner project files. To keep things manageable, create an organizational system that works for you and your project. One tip that helps me is exporting an image of each project file for easy reference, avoiding the need to repeatedly open and close projects.
- It’s easy to become exhausted when working long hours on a project, causing your brain to overlook mistakes or potential improvements. To combat this, seek external feedback. Always ask a colleague or friend to take a look at your work – you never know what they might be able to point out! External input can help you identify areas for improvement and provide valuable perspective on your project.
Giveaway!
Before we wrap this article up I have some great news! Gianclaudio has provided two promo codes for the Bandcamp release of his album Obscura. We will be giving these away after running a random shuffle to choose the winners!
To participate simply comment a favorite emoji of yours in the Instagram post for this blog post on Thursday May 4th!
Infinite thanks to Gianclaudio for this awesome gesture to the HQ readers!
Wrap Up
As you can see, this piece of work is really a collection of TouchDesigner knowledge accumulated from the Interactive and Immersive HQ! I’d like to thanks Elburz and the amazing team he’s put together!
Congratulations to Plaster on the massive release of his album Obscura. Only filled with gratitude to have contributed a small part to this project!
By sharing my own journey of creating a music video in TouchDesigner, I hope to have provided you with valuable insight and inspiration for your own projects. Please feel free to reach me on my social media channels if you have further questions or doubts. Happy creating, and until next time!