Find the usual work video calls a bit dull? Want to achieve a nice filter glow on your zoom work calls? This simple tutorial will demonstrate how to do a glow effect with your webcam input with some simple TOP tricks in TouchDesigner. We will make two samples where we will learn how we can use blurs and composites to soften and brighten the look. Afterward, we will go over how we can take that input and feed it into your video chatting platform.
If you need a refresher on the basics first, check out our TouchDesigner beginner walkthrough.
Glow One Look in TouchDesigner
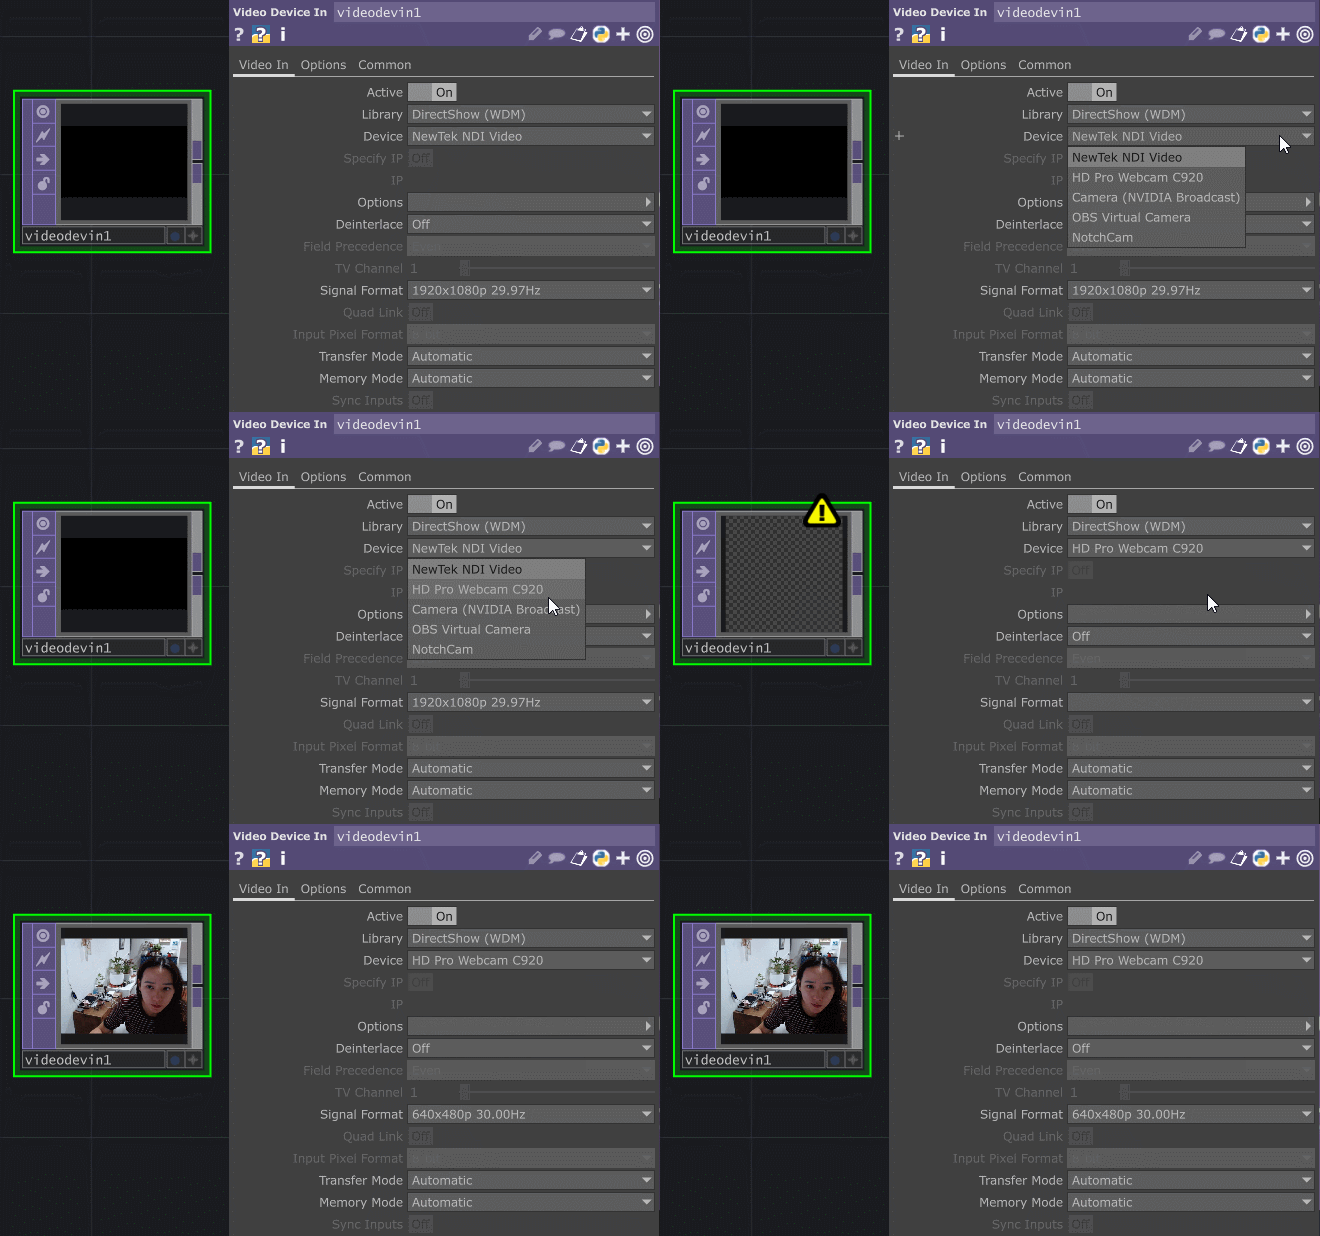
First, start by putting your camera input into your TouchDesigner network by dropping a Video Device In TOP and setting the device to your webcam device.
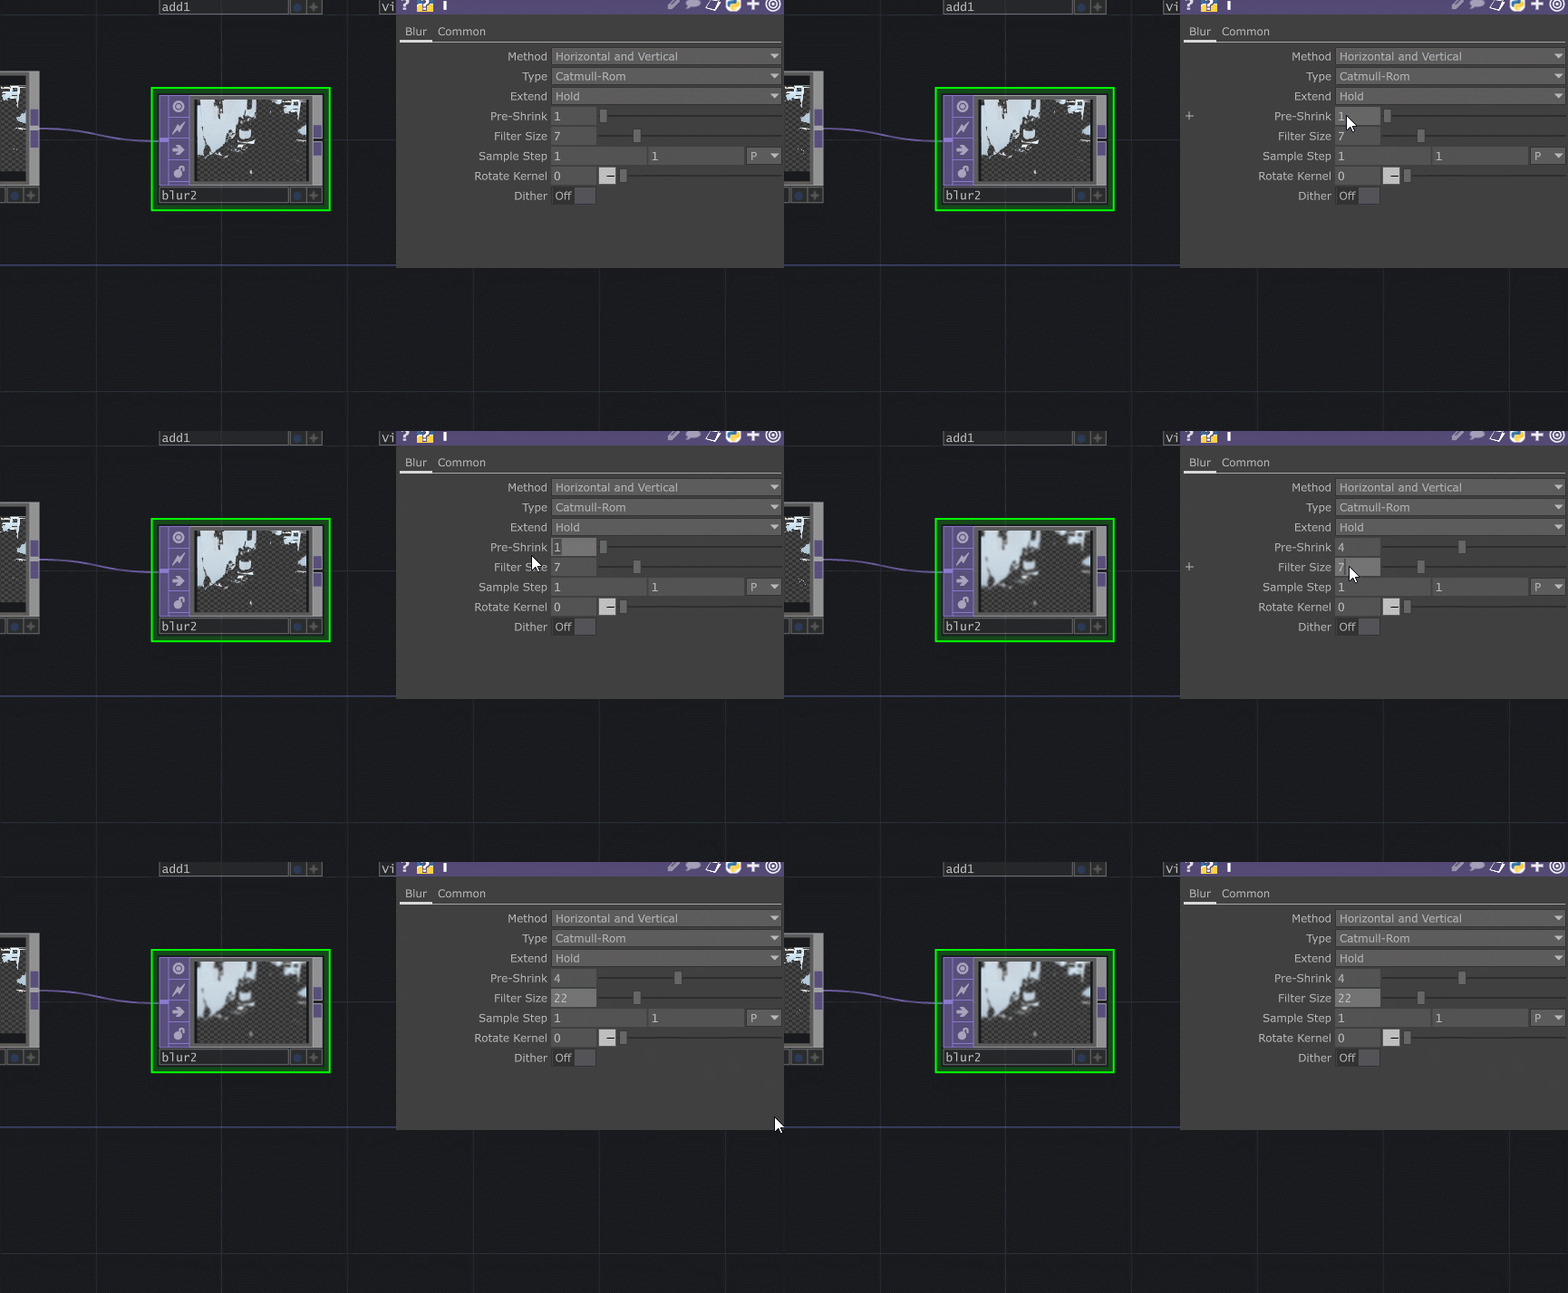
After that, add a Blur TOP and connect your Video Device In TOP to it. Set the Pre-Shrink to 4, Filter Size to 22. These will increase the amount of blurring that is happening.
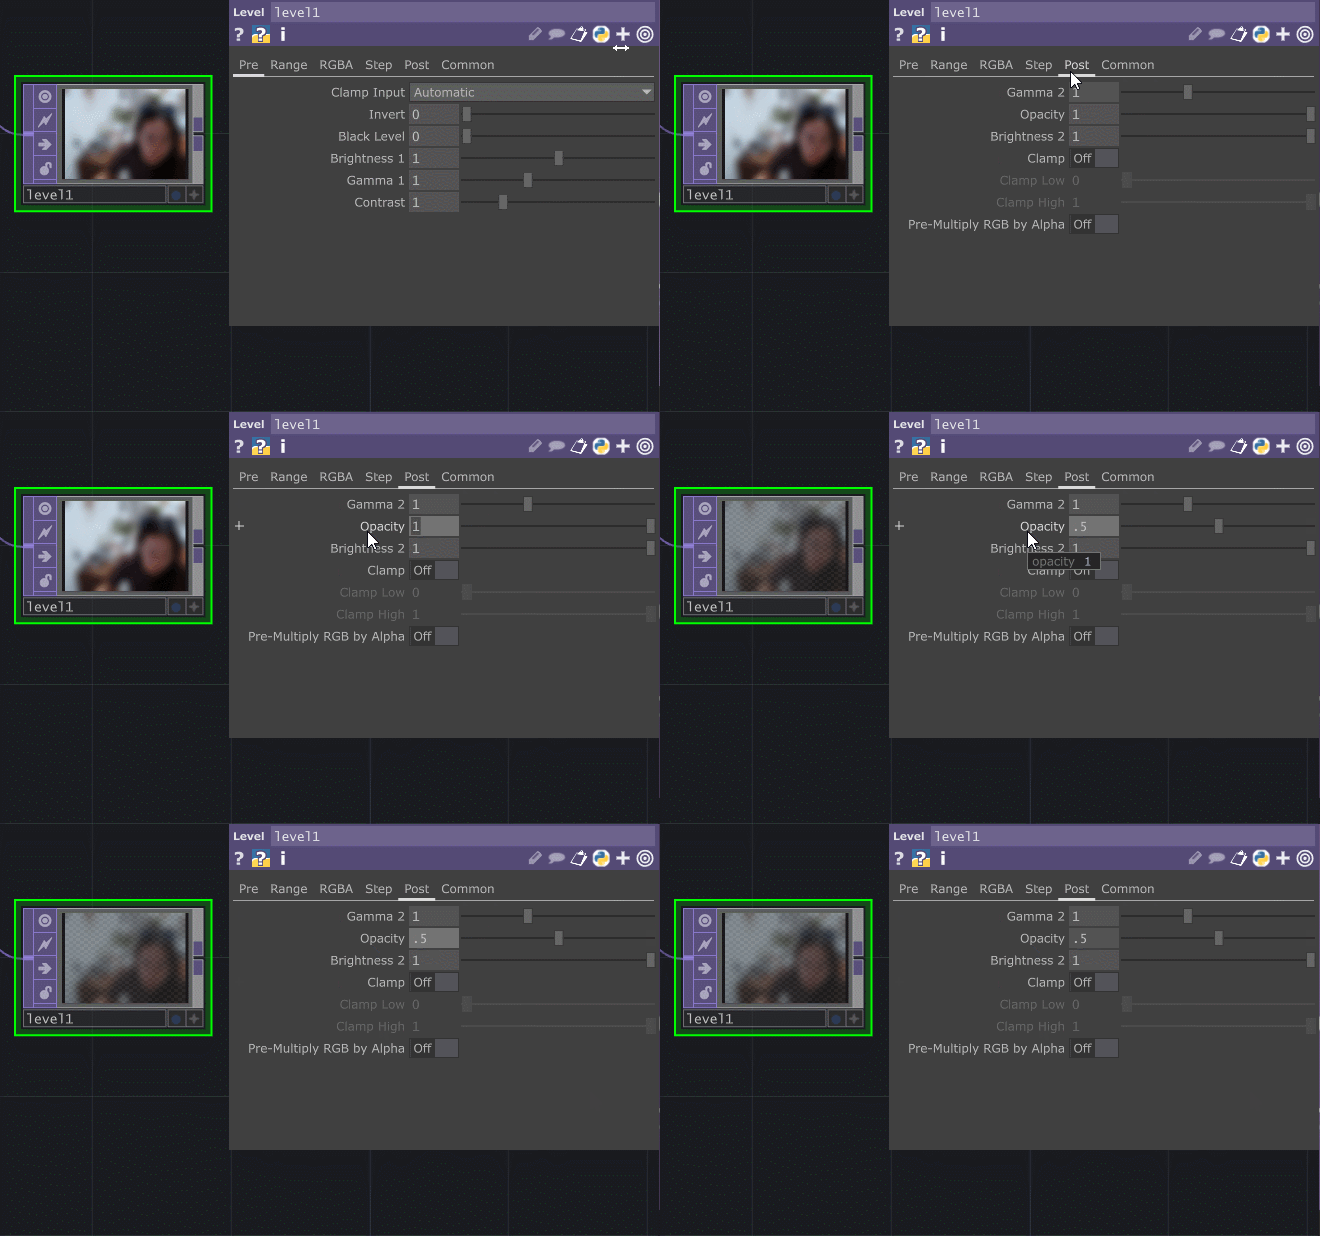
Next, we will lower the opacity of the blurred version of our feed with a Level TOP. Change the opacity to 0.5 on the Post page of parameters.
We’ll layer the blurred version of our video over the original video input by compositing it with an Add TOP. The order of the piping doesn’t matter in this case.
Follow by adding a Null TOP. You can rename it to VideoGlow1. This is the most basic version of a glow effect, where the blurred version of our video input is added on top of the original.
One problem this has is that it glows both light and dark parts of the image. So let’s build on this glow effect.
Glow Two Look
Another approach to adding glow is to threshold your input image and use that as a mask before you blur it. This creates the effect where the threshold throws away the darker parts of the image, which allows you to only blur the bright parts of the image, which will give the effect that the bright parts of the image are glowing while the darker parts are not.
Again, start with having a camera input with a Video Device In TOP and setting the device to your webcam device.
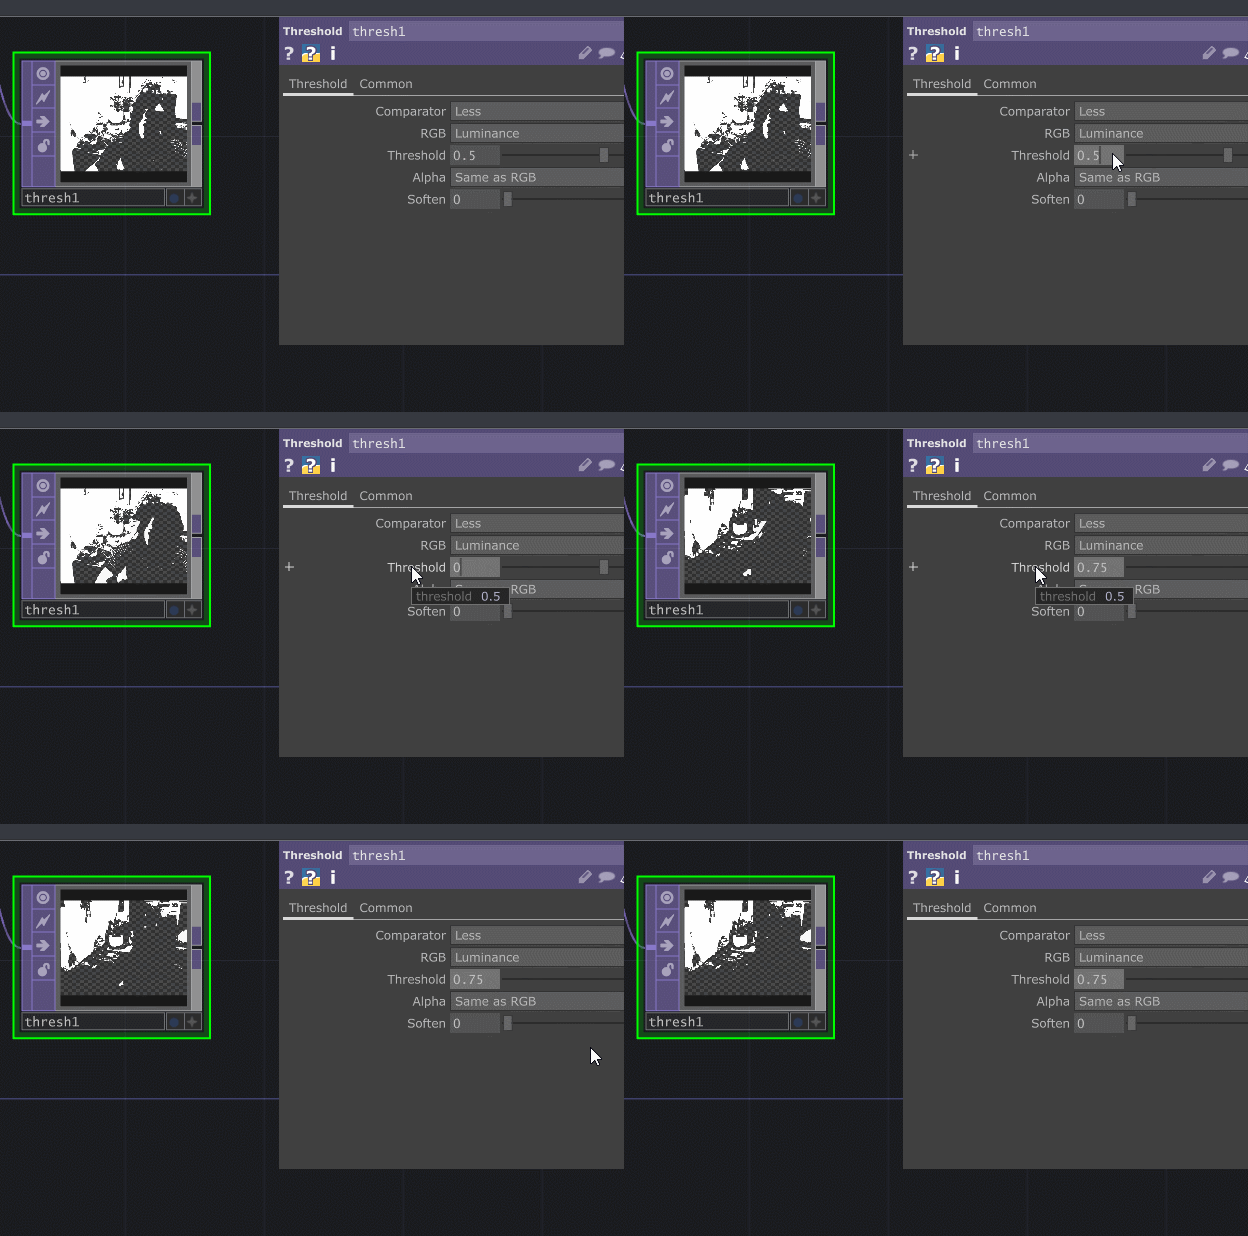
After the Video Device In TOP, add a Threshold TOP. Increase the Threshold value to somewhere that looks like it’s removing the darker parts of your image. For me, that is somewhere around 0.75.
Now I want to use the thresholded version of the image as a mask. We can create a Multiply TOP and connect our original image and our thresholded version. This allows only the bright parts of the original image to pass through to the next step.
Add a Blur TOP afterward and like before, adjust the Pre-Shrink to be 4 and Filter Size to be 22.
We will lower the Opacity with a Level TOP just like we did before, and we can set the opacity to 0.5. Our final step is to use the Add TOP to layer the original source video with the thresholded blurred version. This then creates a glowing effect only on the brighter parts of the image that are able to pass through the threshold.

Finish by adding a null. Rename the node to VideoGlow2
Get Our 7 Core TouchDesigner Templates, FREE
We’re making our 7 core project file templates available – for free.
These templates shed light into the most useful and sometimes obtuse features of TouchDesigner.
They’re designed to be immediately applicable for the complete TouchDesigner beginner, while also providing inspiration for the advanced user.
Output to Webcam
Now if you want your beautiful glowing face in your Zoom or Google Hangout calls, you can output it from TouchDesigner using NDI. First, you’ll need to download NDI Tools. It’s free and has a ton of great tools for working with NDI signals, such as screen capture tools and virtual webcam simulators. Download the NDI tools for your Windows here:
https://www.ndi.tv/tools/#download-tools
Once it’s installed, the NDI tool we need to open is “NDI Webcam Input”. You can do that by looking up “NDI Webcam Input” in the start menu on Windows. When it opens, it won’t open a full on application, instead it will add an icon to the bottom right of your taskbar. You’ll see the yellow icon in the image below:
Back in TouchDesigner, after the VideoGlow Null, connect an NDI Out TOP so that we can enable our NDI output of our glowing feed.
Right-click the NDI Webcam Input icon on your taskbar, and at the top you’ll see a list of devices that are broadcasting NDI feeds. You should see your computer name and the stream name from TouchDesigner.
In your video chatting platform, change your webcam to “Newtek NDI Video”. It may take a few seconds, but it will then start displaying the NDI feed from TouchDesigner as your webcam input.
TA-DA
Wrap Up: Blur Glow Effect in TouchDesigner
This simple beginner-friendly tutorial will give a little flare to your usual video inputs. Feel free to play with the Blur parameters to your liking. You can see that with only a few TOPs we were able to create a reliable and efficient glow effect. We were also able to harness the power of NDI to then route that feed into the video call application of your choice. The sky is the limit with what else you could pipe into your video calls!


