You have mastered TouchDesigner 2D textures and TOPs; how about working in 3D? SOPs stand for Surface Operators. You can generate, import, modify and combine 3D geometry in the SOP family. This blog will let you know what SOPs you should know and the benefits and drawbacks of working with TouchDesigner SOPs.
If you’re not too familiar with SOPs, watch our beginner tutorial on this operator family first:
TouchDesigner 3D limitations
Even though there is the ability to work in 3D in TouchDesigner, it wouldn’t be the most optimal software to work in 3D. Due to its real-time nature, there are limitations where TouchDesigner does not have the most realistic lighting compared to other 3D focus software. It is also not a great platform to be modeling 3D objects. It is better to Import an existing 3D model into TouchDesigner rather than design in TouchDesigner unless it is a simple geometric shape. SOPs are run on the CPU rather than the GPU. If you notice frame drops in your network while working in SOPs, you might be overworking the CPU on your machine.
3D Files in TouchDesigner
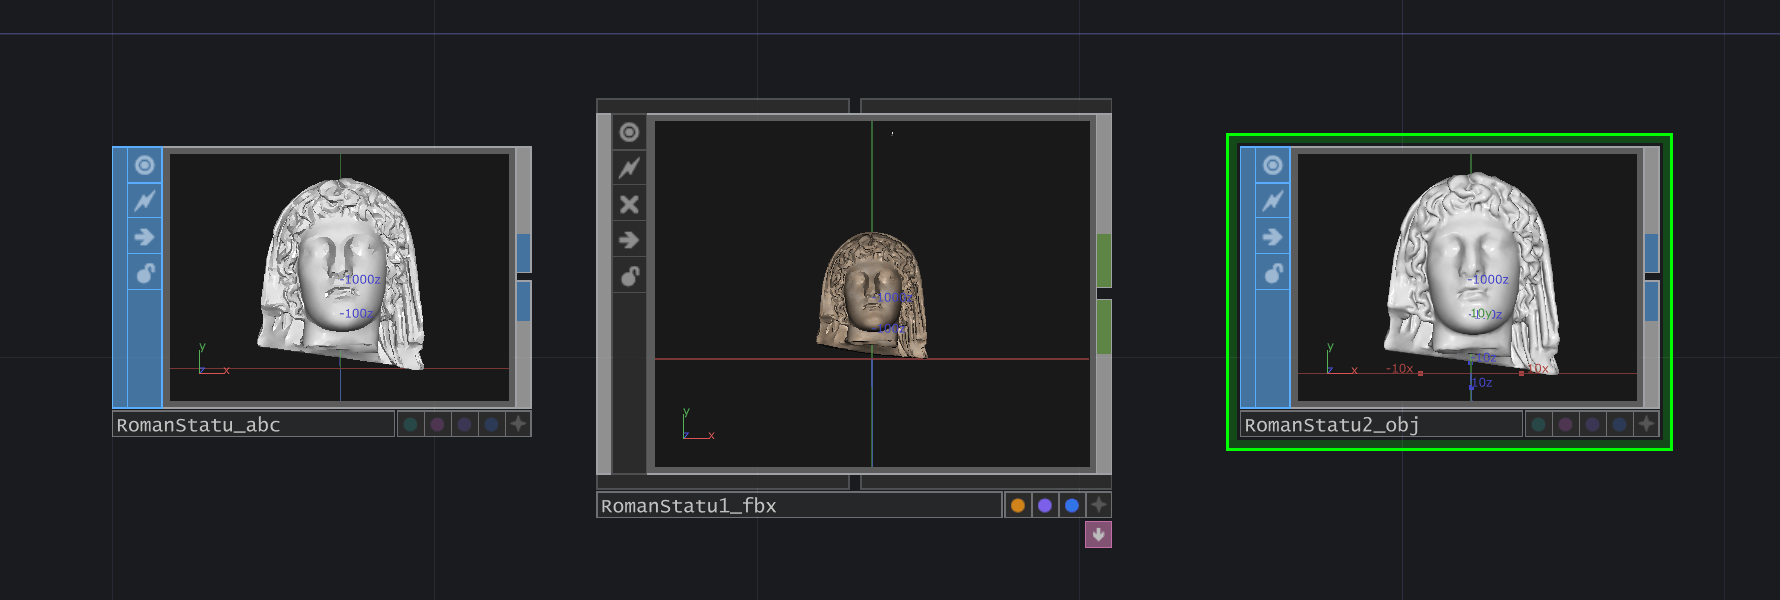
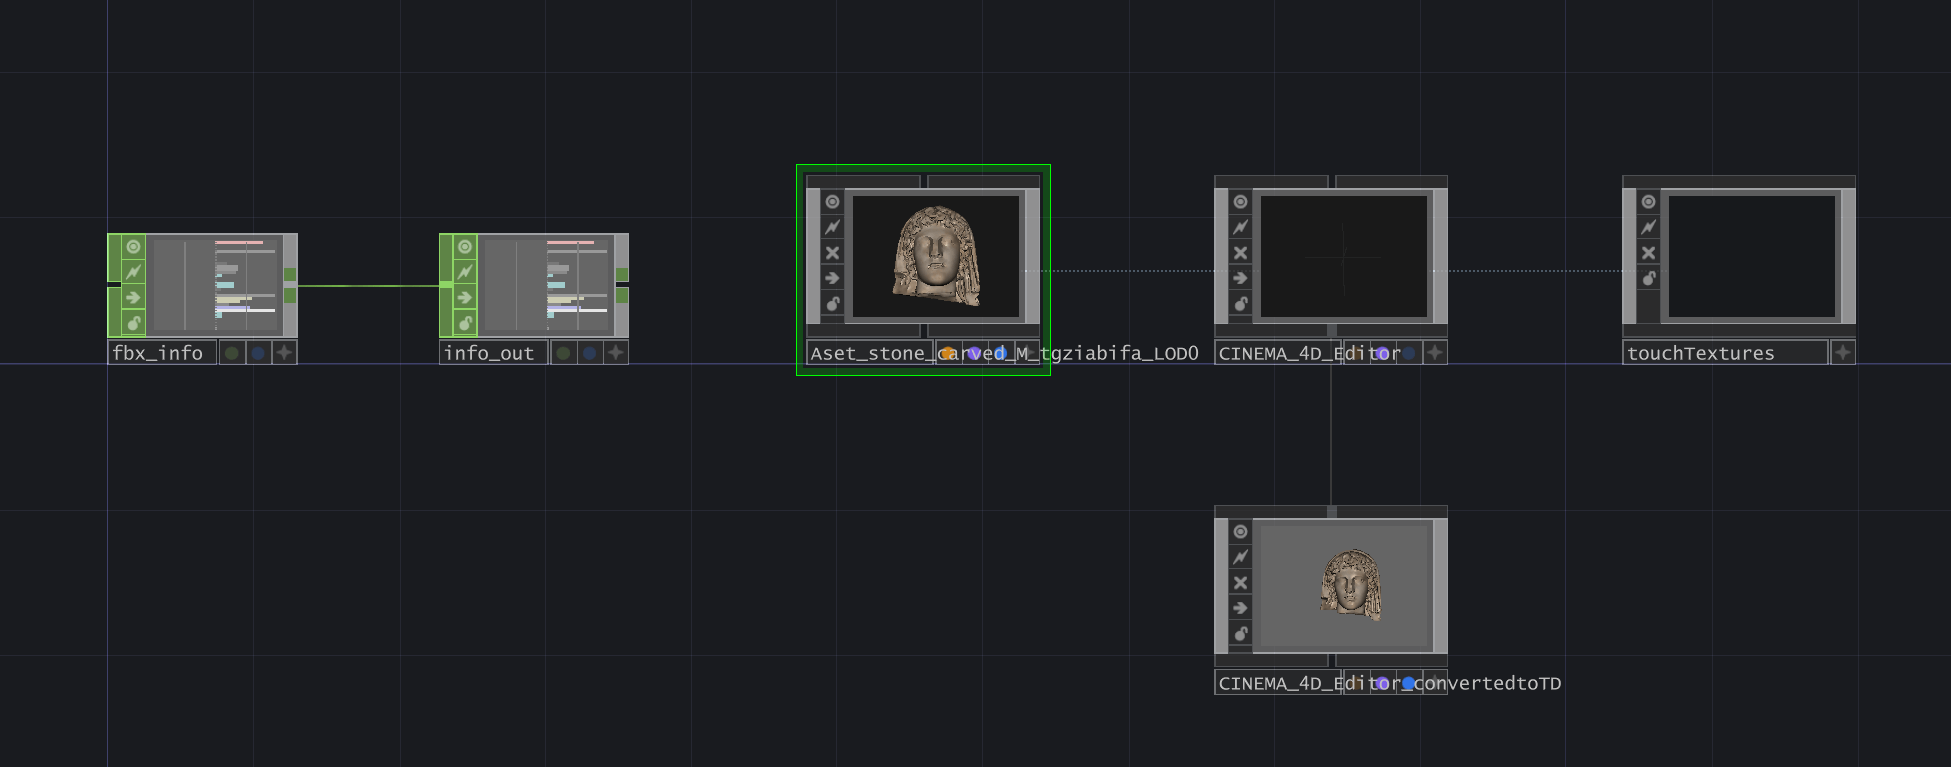
When importing a 3D file into TouchDesigner, you can drop it directly in the network or use a File In SOP and select the desired file. There are different 3D files that can be imported into TouchDesigner.
FBX COMP will have the most information within it. It will keep the texture and even animation if the fbx file has animation.
Other 3D Files accepted will be .abc, .obj, and .tog.
.tog is a TouchDesigner Geometry-specific file format. You can save geometry from TouchDesigner as a .tog file by right-clicking the node and saving Geometry.
Benefits of SOPs
So it’s challenging to have cinematic lighting or model in SOP, so why use it? The two most used aspects of SOPs are particles and instancing. Particle systems and instancing can be their own blog series topics, so we won’t go deep into it here. In the wrap-up section, we included links to Interactive & Immersive HQ tutorial videos to get you started on particles and instancing.
SOP Shortcut Keys You Need to Know
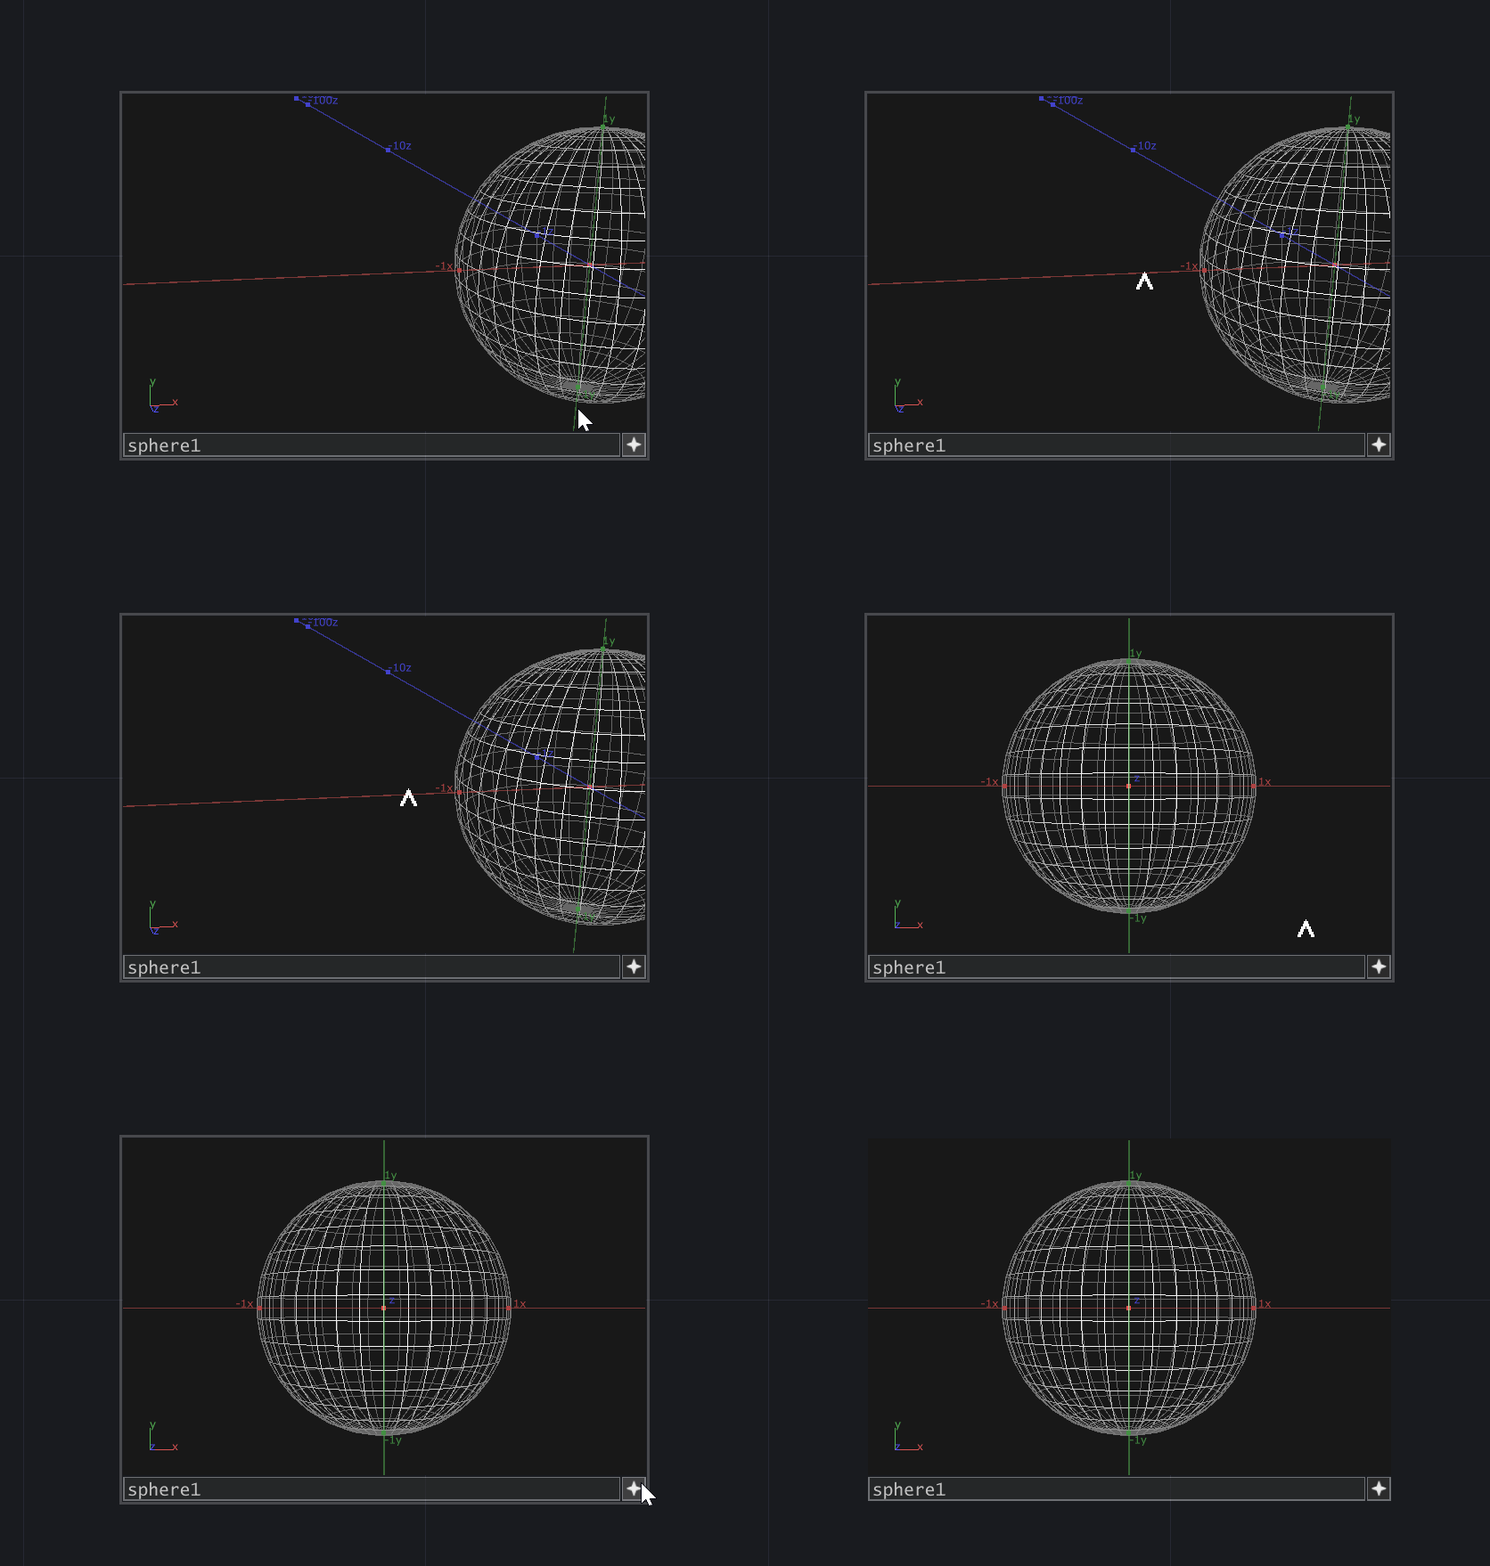
- ‘W’ button: After hitting the bottom corner ‘+’ to make an SOP viewer active, hit the ‘W’ key, and you will make the node into a wireframe. This is useful to see the structure of the node.
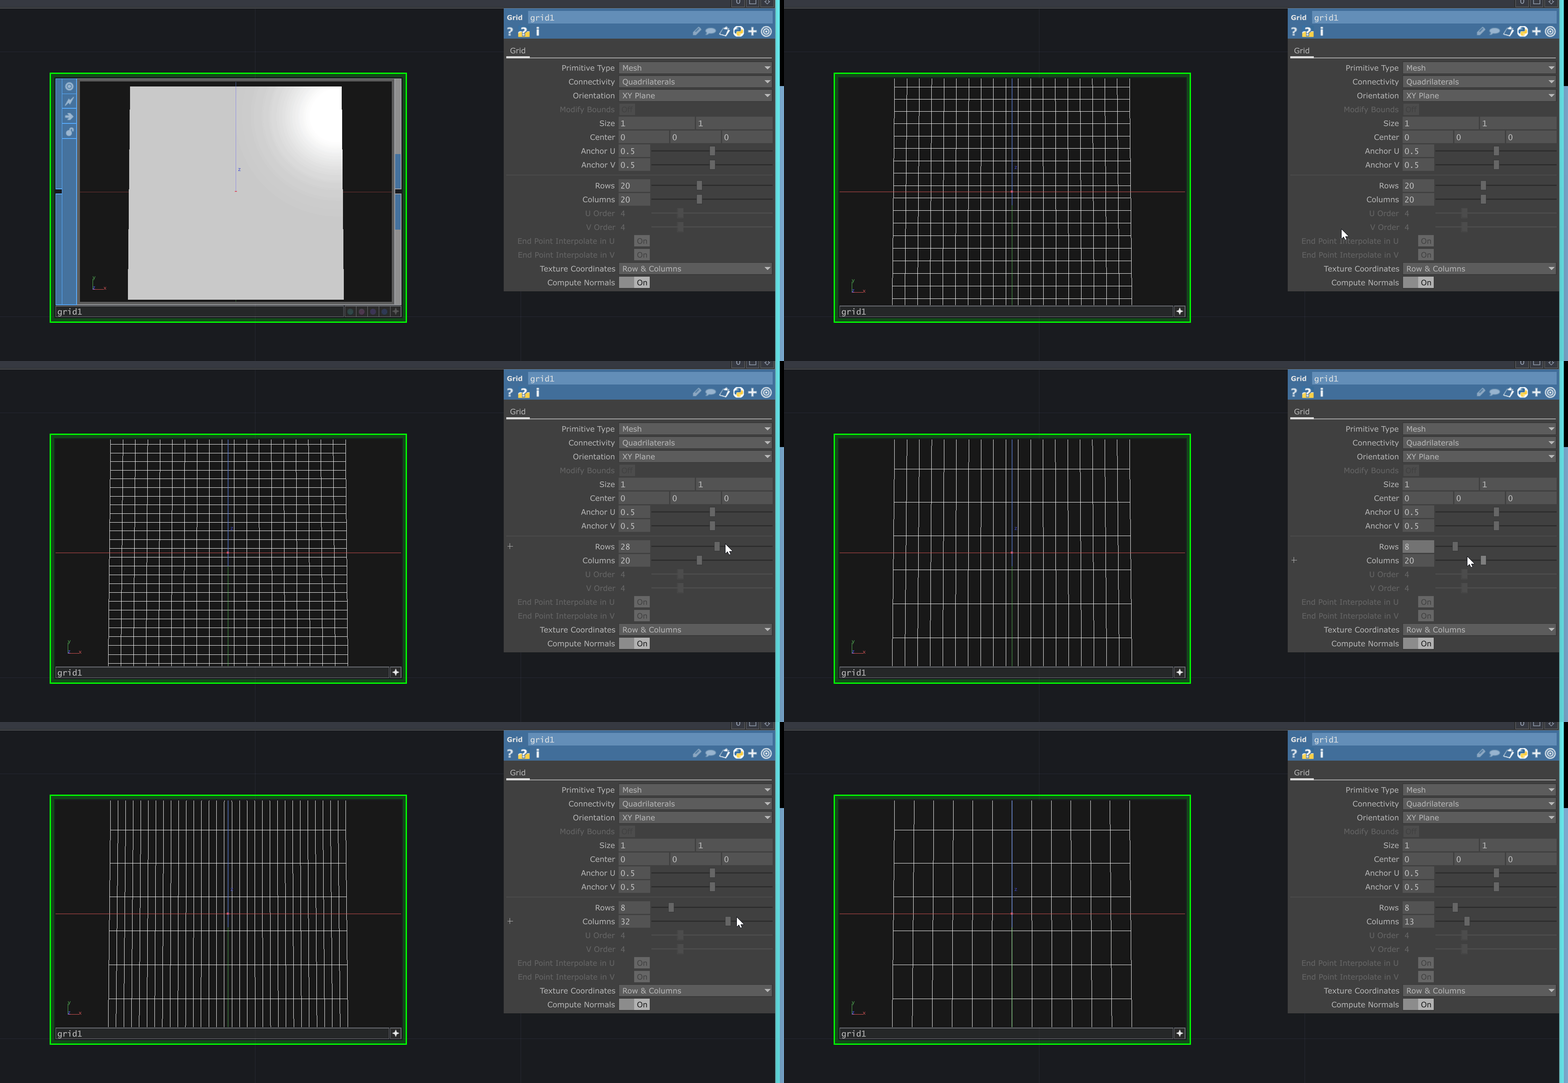
For example, a Grid and Rectangle SOP may look the same when you drop it into the network, but once you make it to Wireframe mode, it’s more obvious the make-up of the shape is different.
- ‘P’ button: When you hit the “P” key in the network, it will hide and show the Parameter box. Yet, if you make the SOP node viewer active and hit the “P” key, a “Display Options-Selected Viewport” box will appear. It is a great way to see the number of points in a space.
The box may seem overwhelming with many options, but if you stick with viewing All-Points and All-Point numbers, you’ll do great Example: When you drop a Circle SOP into a network, it comes with 40 Divisions. You can better see the points in the Division when you have the viewer set to All-Point numbers.
- Viewer Active: When the SOP node’s Viewer Active is on, you can move the shape within the node. Left click drag to rotate, middle button scroll to zoom in and out, right click to drag. Note that this will only affect the view of the node you are selecting. It will not transform the chain on SOPs after it.
- ‘H’ Button: When the Viewer Active is on, and you press the H button inside the node, it will return to the shape’s center point.
Generator SOPs
If you are not importing a file into TouchDesigner, you must use an SOP that generates a shape. Many SOPs must have some Generator SOPs before it.
The different Generator SOPs have their unique parameters. Yet here are a few Generator SOPs tricks.
Line SOP: The angle on the Line SOP depends on where the points A and Point B coordinates are assigned.
Grid SOP: It’s better to view the Grid SOP in wireframe mode than you can better see the numbers of Rows and Columns. Grid SOP is great when Instancing Geometries.
Circle SOP: You can make a Circle SOP into a polygon or even a triangle by changing the number of divisions.
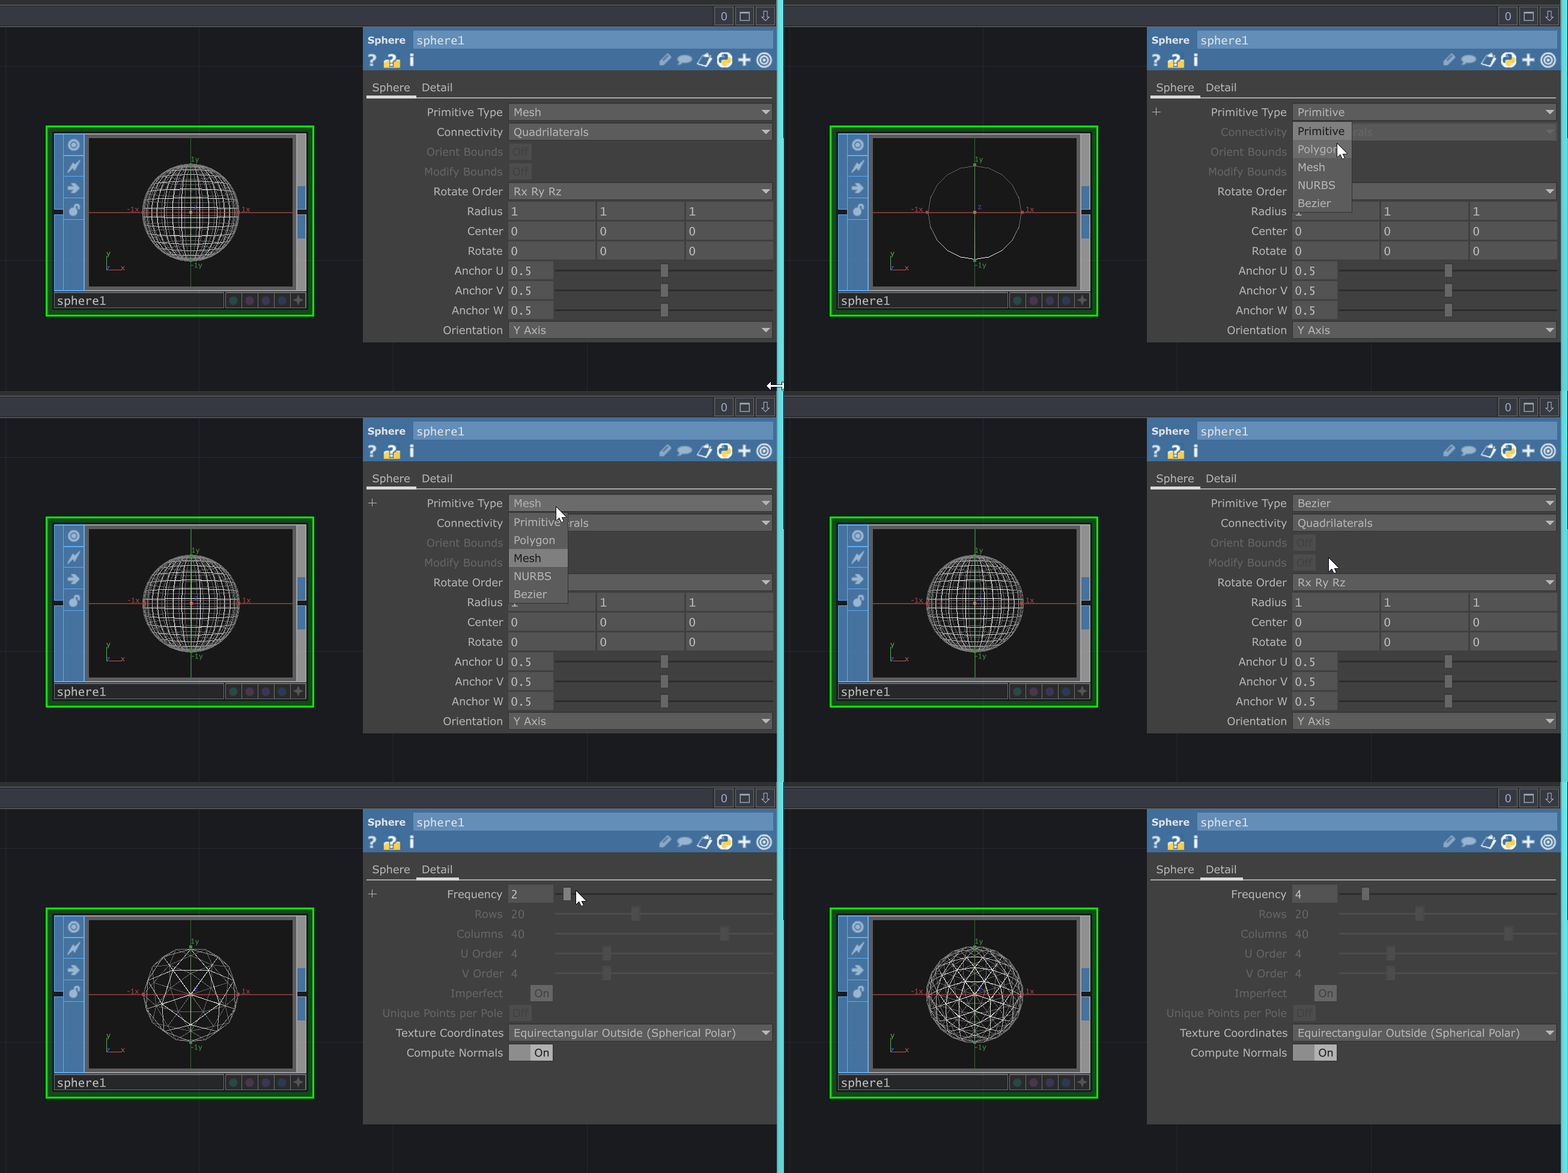
Sphere SOP: There is the option to change the Primitive Type for a sphere. When the Sphere is in wireframe mode, you can better see the structure of the primitive types. When set in Polygon, you can change the frequency of the Polygon.
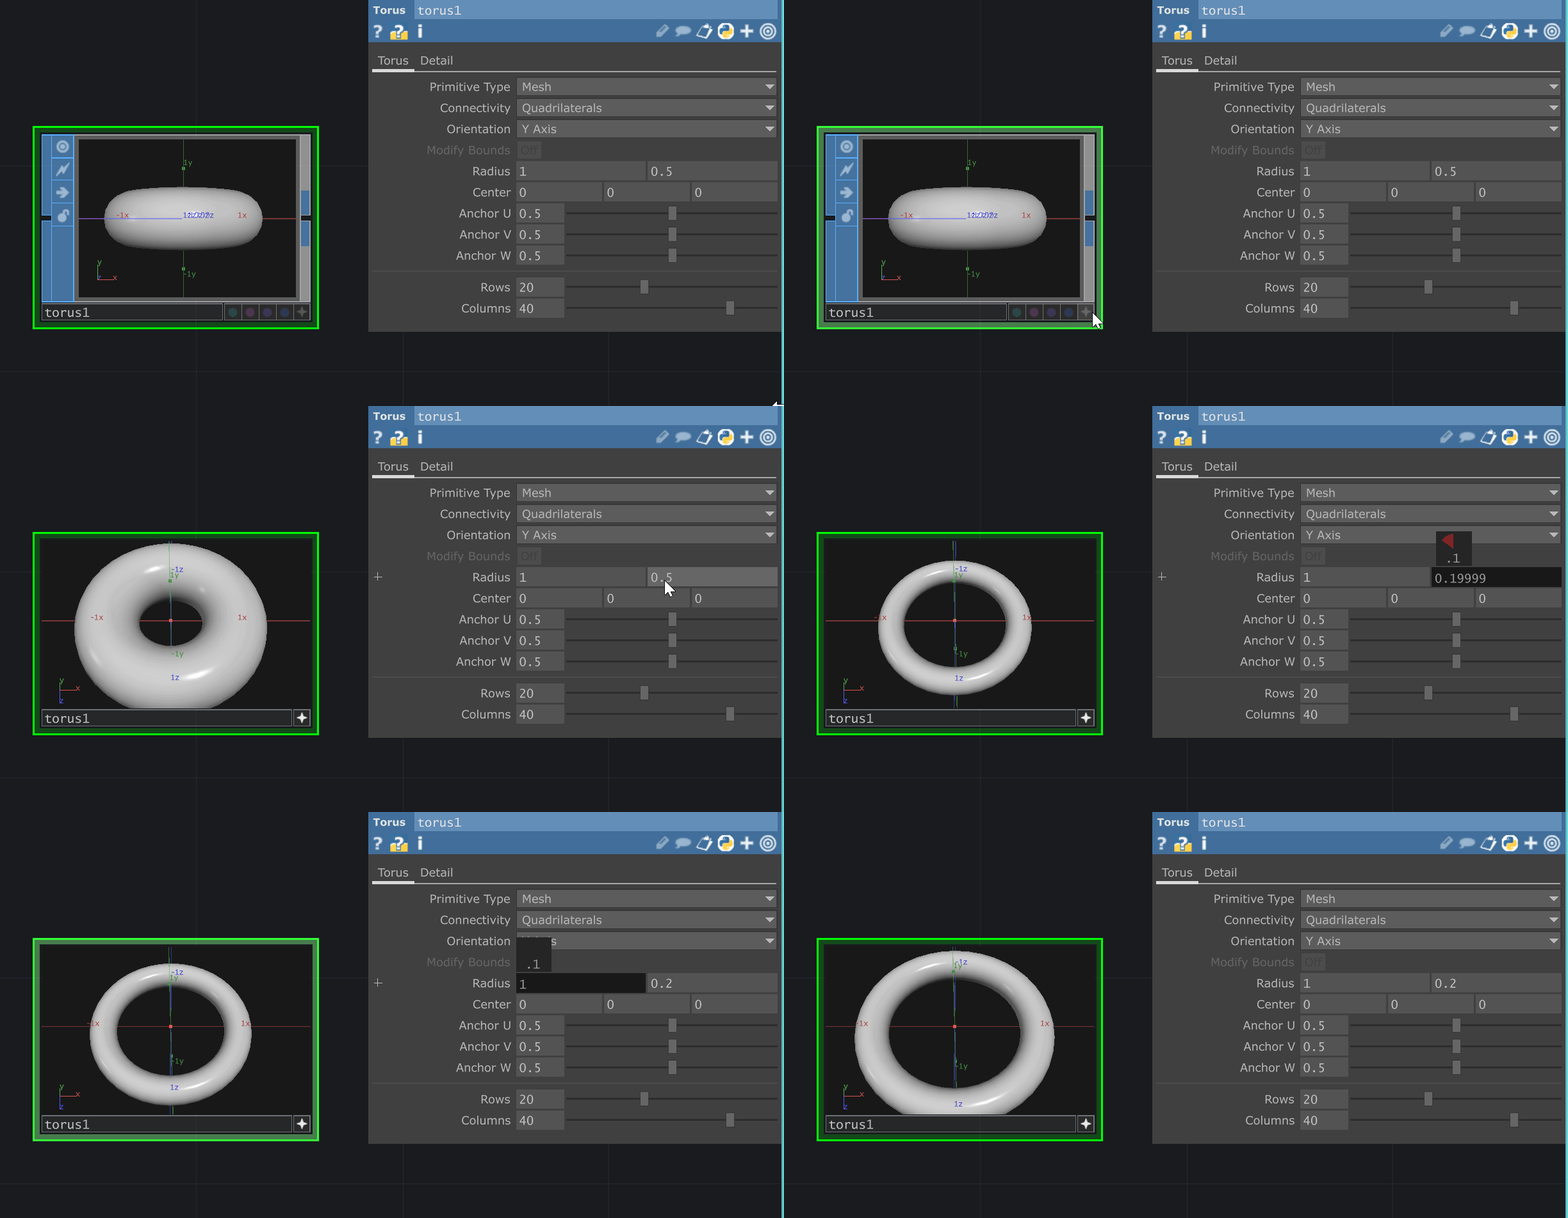
Torus SOP: You can also change the look of the Torus by adjusting the size of the inter and outer radius. You can better view the adjustment when you angle the Torus in viewer active mode so you can see the hole.
Get Our 7 Core TouchDesigner Templates, FREE
We’re making our 7 core project file templates available – for free.
These templates shed light into the most useful and sometimes obtuse features of TouchDesigner.
They’re designed to be immediately applicable for the complete TouchDesigner beginner, while also providing inspiration for the advanced user.
Filter SOPs
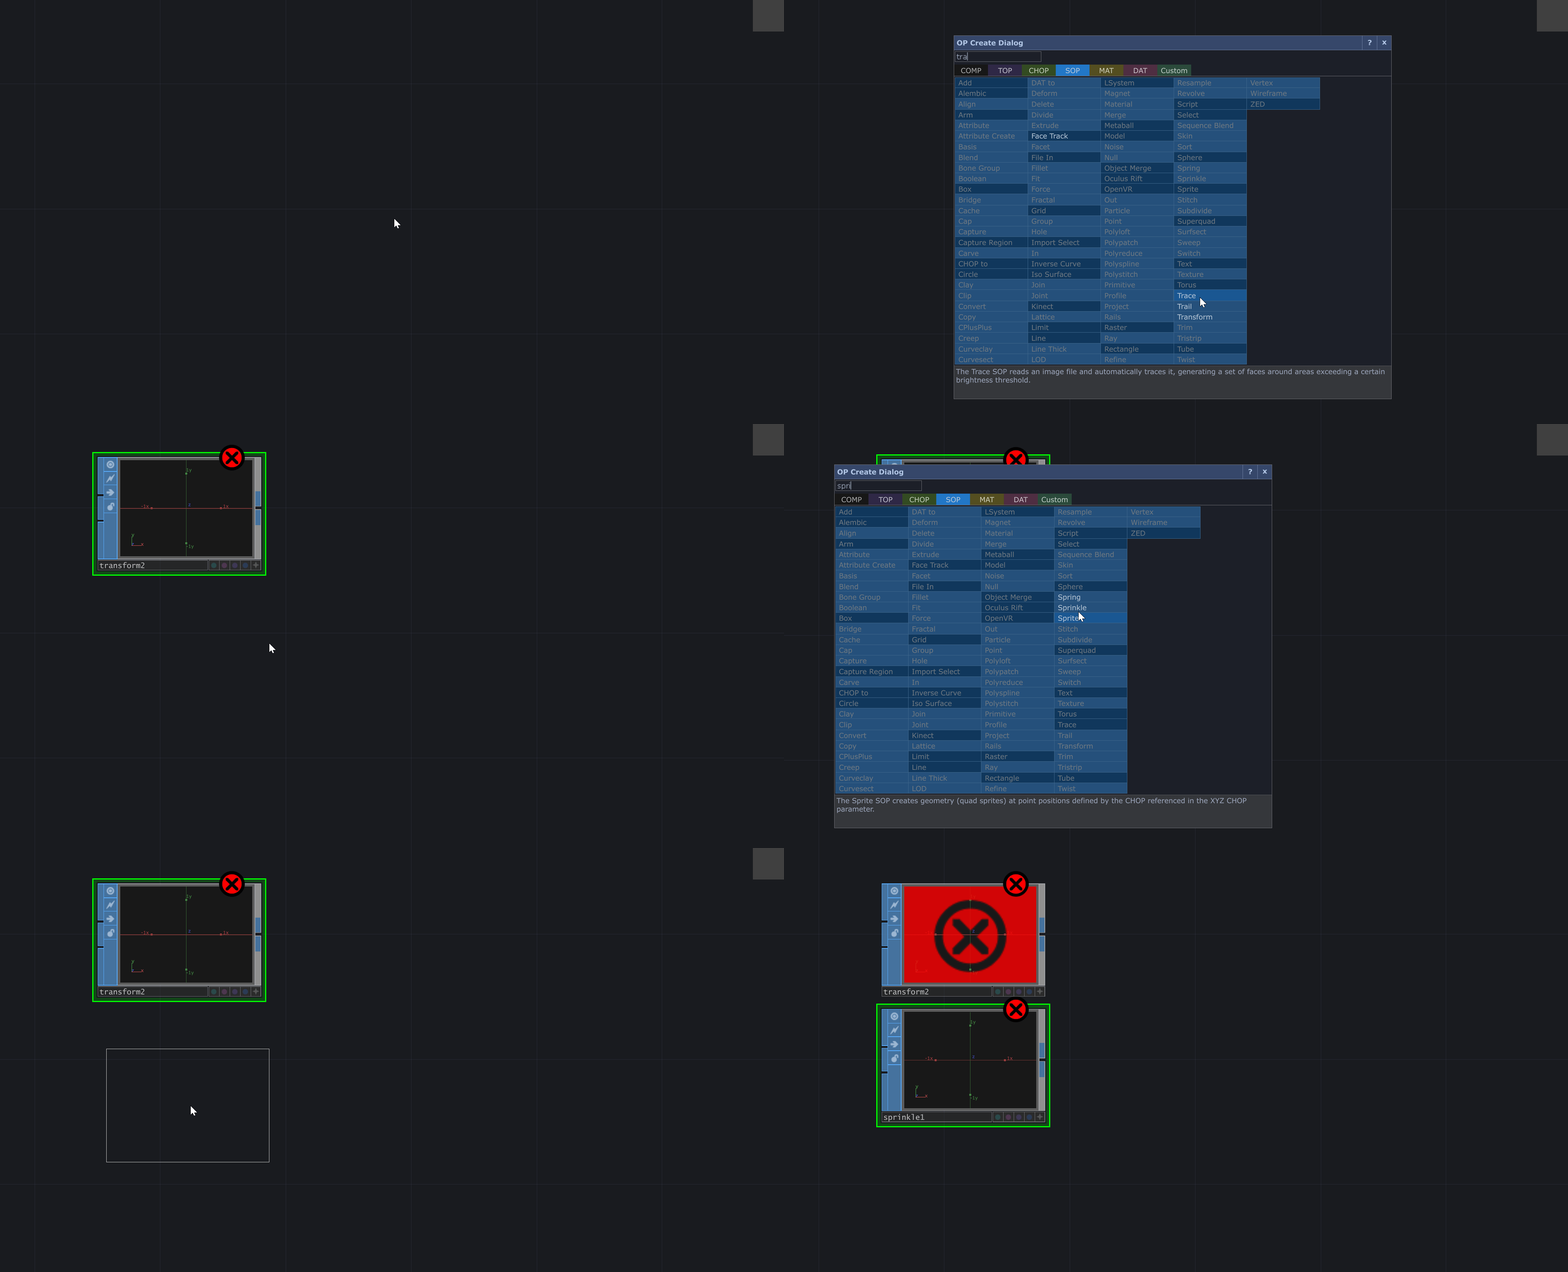
Filter SOPs affect Generator SOPs. When you drop a Filter SOPs, you may get an error because they require you to have an SOP pipe into it.
There are many different SOPs, but ones that are useful to know include:
Transform SOP: Similar to Transform TOP, you can change the position and scale of a shape.
Note: The handy-dandy “absTime.frame” Python expression also works in the Transform SOP to continuously modify an SOP, yet it can tax the CPU if there are many elements in your network. If you want to use an absTime.frame, it is better to use it in the Geometry COMP rather than on the Transform SOP because it will be using the GPU.
Merge SOP: Merge SOPs together.
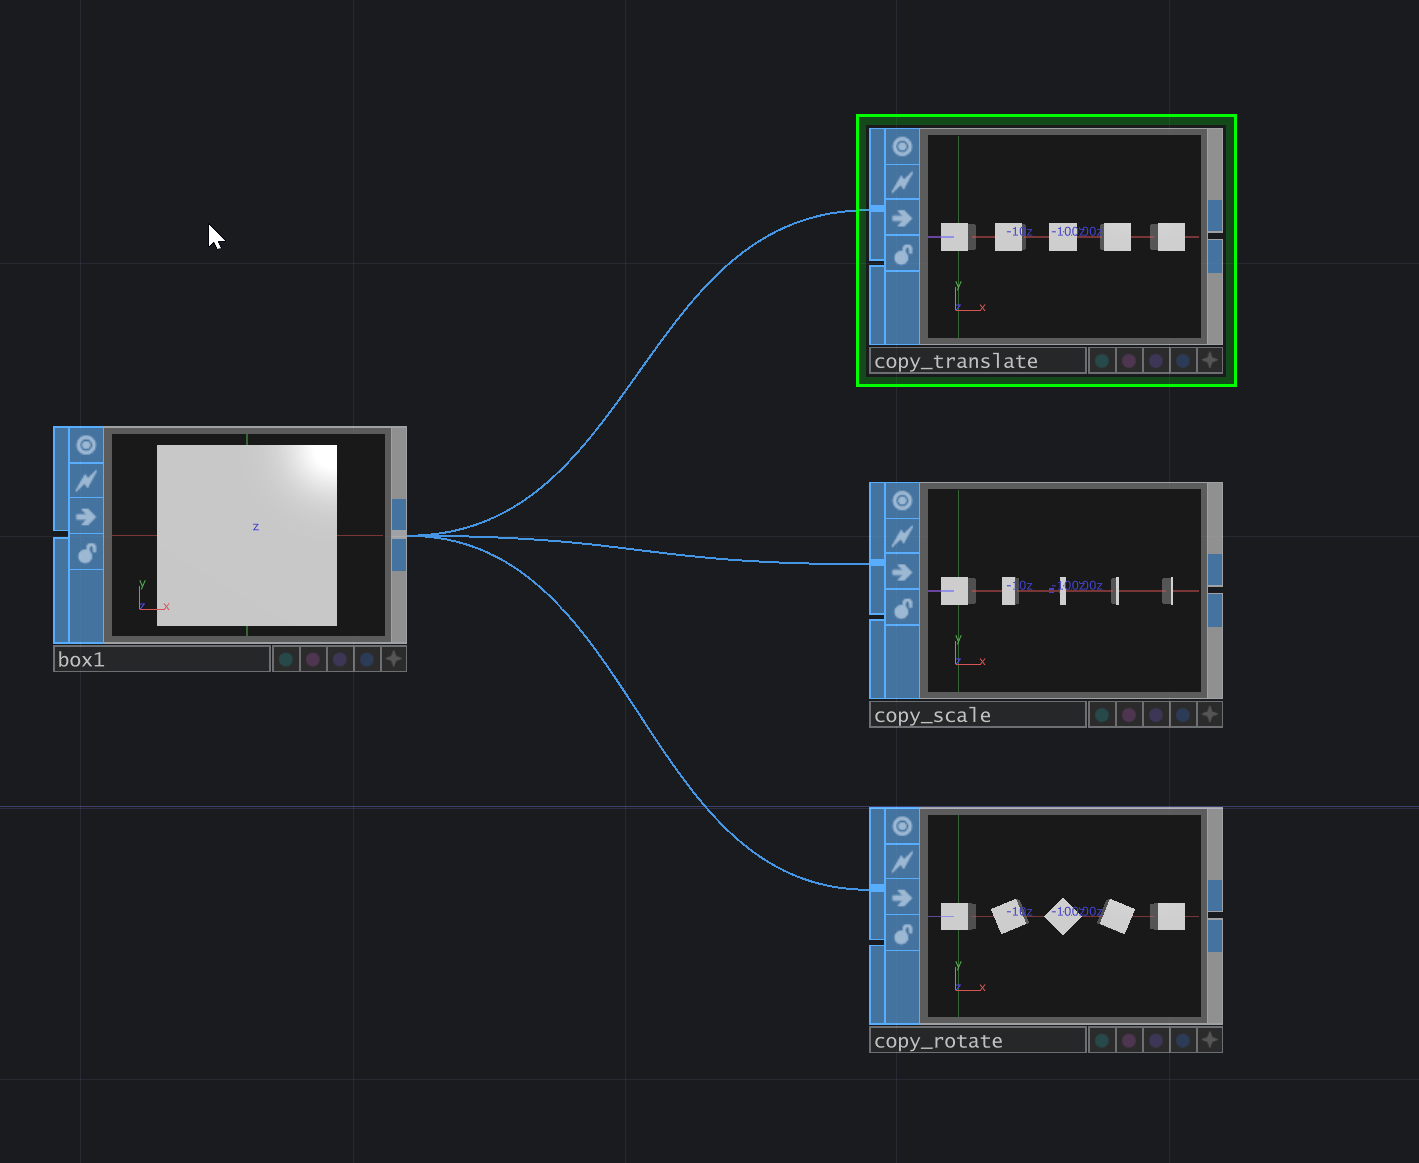
Copy SOP: Copy and replicate Generator SOPs.
Noise SOP: Similar to a Noise TOP you can transform the amplitude, properties, and shape of a Generator SOPs.
Sprinkle SOP: This scatters points along the surface of the SOP. This is useful if you have a model that you’d like to emit particles from but you find the existing mesh layout isn’t ideal for that.
Sort SOP: This is mainly used to re-order the order of the points in a SOP. This can be useful to randomize emitting order of geometry going into a Particle SOP.
Example: the order of points is changed after the Sort SOP
Rendering a SOP
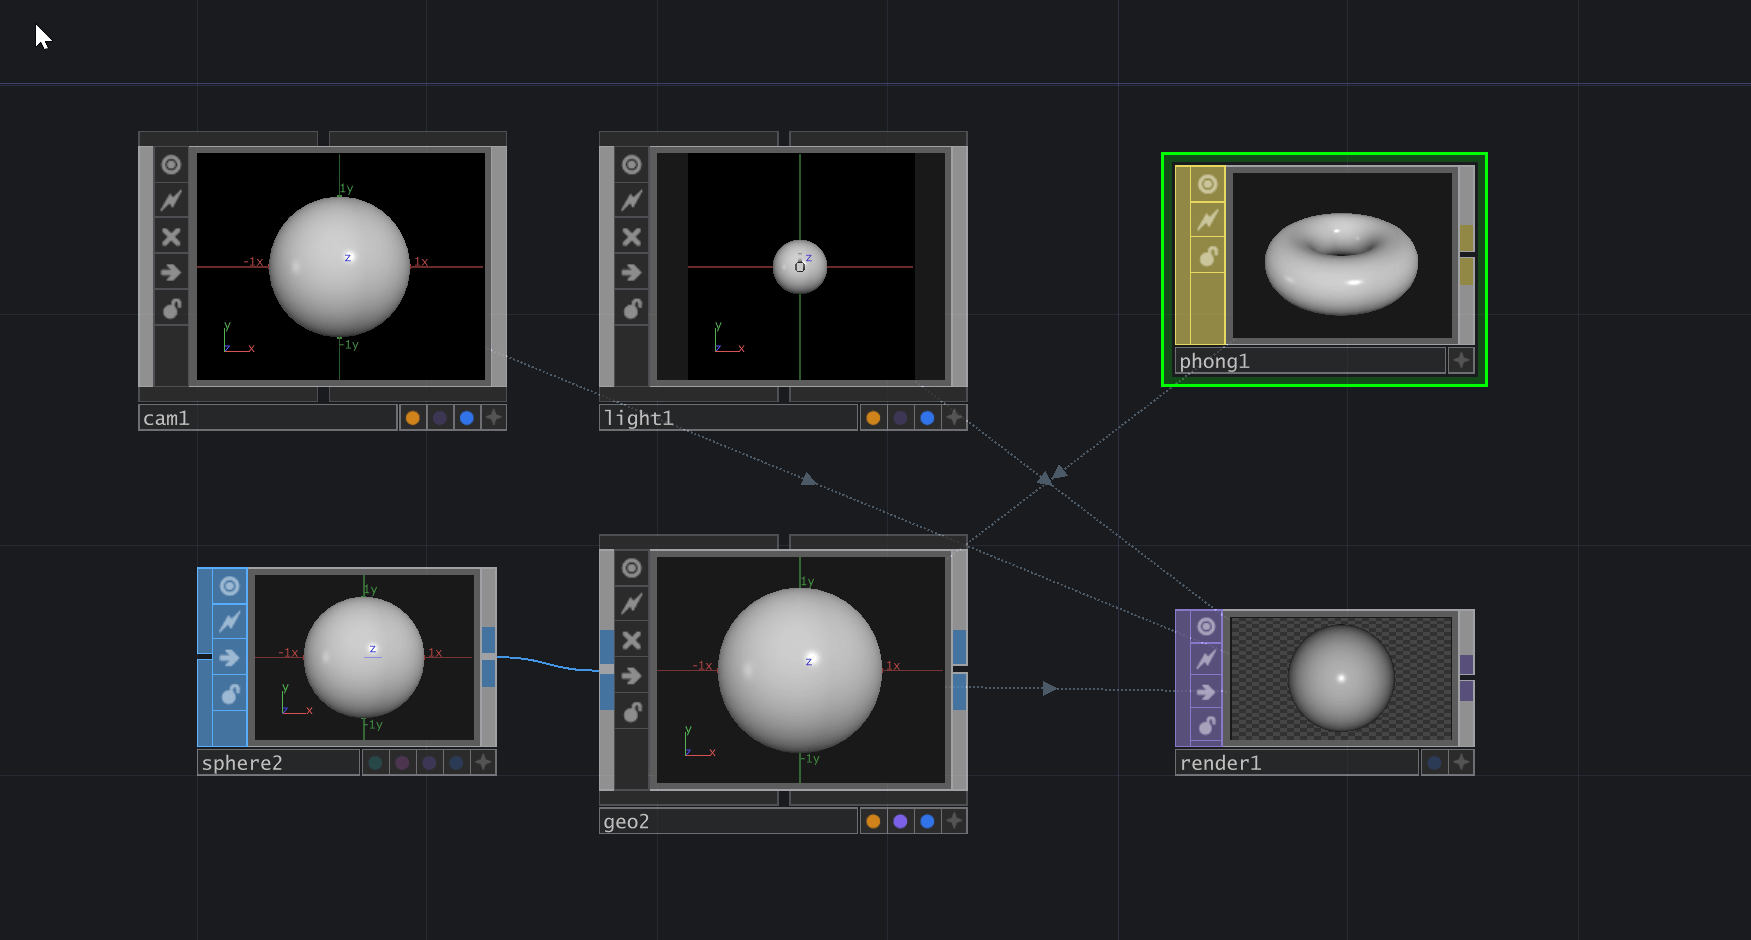
A SOP is not rendered in SOPs. To generate a 2D rendered texture, you will need a few different operators to make it happen. Whenever rendering a SOP, you will need:
- Geometry COMP
- Camera COMP
- Render TOP
You don’t have to, but often times, you will also have a:
- Light COMP
- MAT: a Material it is in its class of Operators.
Geometry COMP
There are two ways to connect a SOP to a Geometry COMP. You either link a Geometry COMP or have the SOP inside the Geometry SOP.
Inside the Geometry COMP
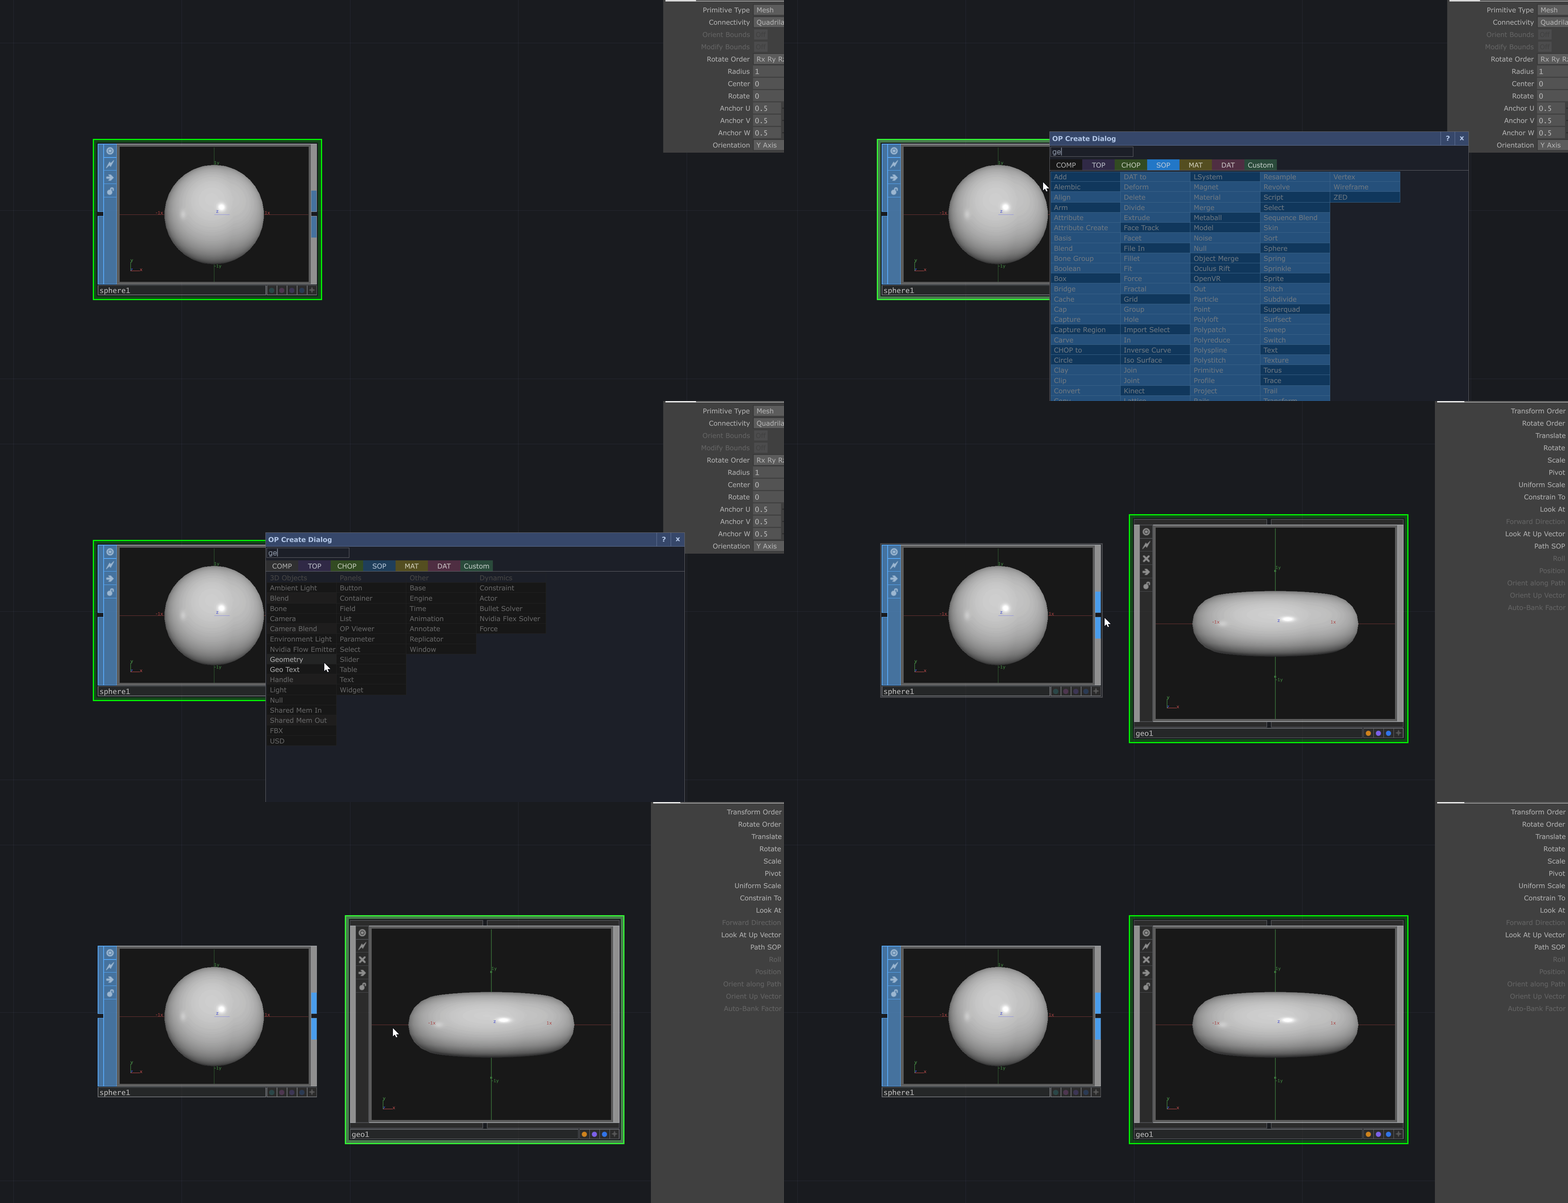
When you drop a Geometry COMP into the network, it has a Torus inside. You can go inside and delete the Torus SOP and add your own SOP for the render. Yet you need to make sure the Render and Display Flags are on (the purple and blue dots in the bottom right corner of the SOP), or you will not see the Geometry in the render. You’ll only need to do this on the final SOP in the chain inside the Geometry COMP.
Linking a Geometry COMP
Unfortunately, you can’t just drop a Geometry COMP and link a SOP. If you try, you will notice that there won’t be anything on the left to pipe in the node.
Rather than directly putting a Geometry COMP in the network, you right-click on the output of the SOP and choose to have a Geometry COMP after the chain. Then it will directly connect to the Geometry.
It depends on the person which way they want to connect to a Geometry COMP.
Wrap Up
This beginner guide will help you get started working with SOPs. If you get stuck and want to know what different SOP do, the Operator Snippets examples are a great resource.

Once you want to start practicing SOPs, particles, and Instancing, plenty of Interactive & Immersive HQ tutorials will inspire you. Here are a few to get started!
Colorful Circles: particlesGPU Basics in TouchDesigner
Vera Molnar Style Instancing in TouchDesigner – Tutorial
Reactive GPU Particles in TouchDesigner
Instancing Scene with iOS Face Tracking & TouchDesigner Tutorial
Explore the World of TouchDesigner GPU Particles & Optical Flow

