Have you ever wondered how films get such beautiful colour looks? Have you tried to get Instagram-style filters in TouchDesigner? These kinds of things can be quite time intensive and difficult to do if you’re trying to manually use Level TOPs and can often end up in sprawling networks just to get what you thought was a simple effect. If you’ve ever worked in the film or photography industry you’ll have heard of LUTs. These are the magic tools used to apply complex colour corrections and stylized effects quickly and easily and today I’ll show you how to add a LUT filter in TouchDesigner.
What is a LUT?
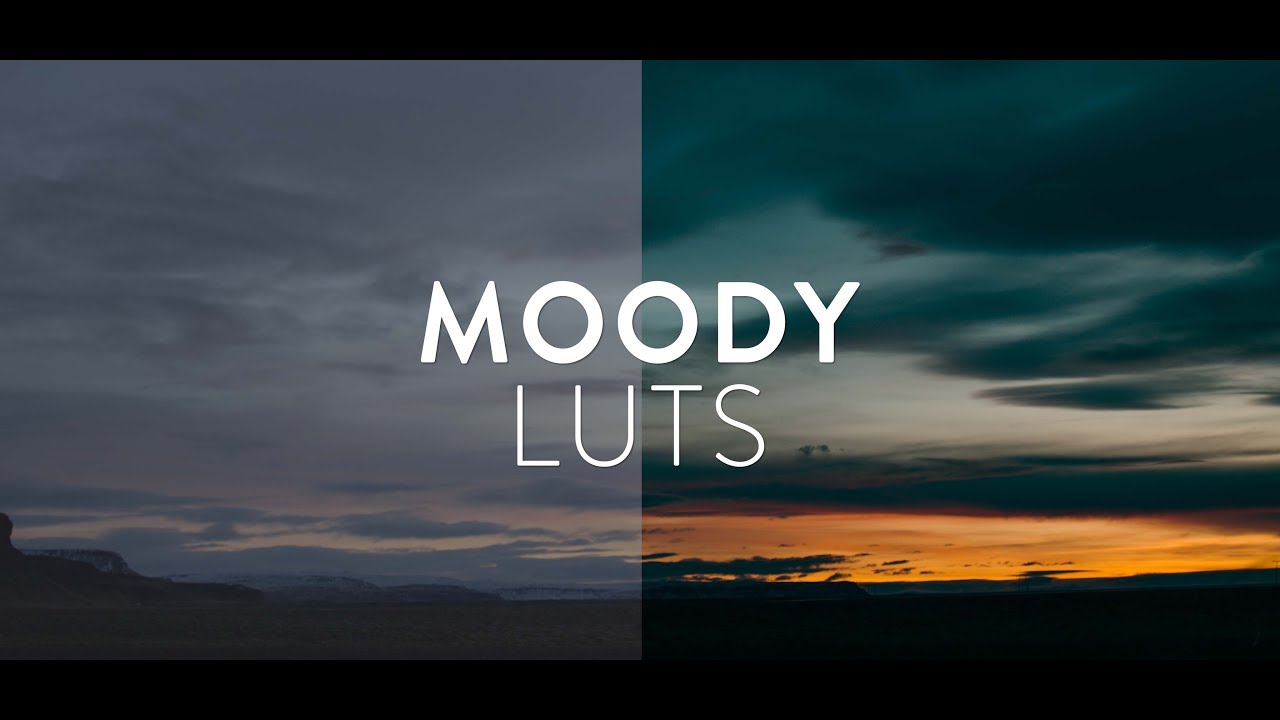
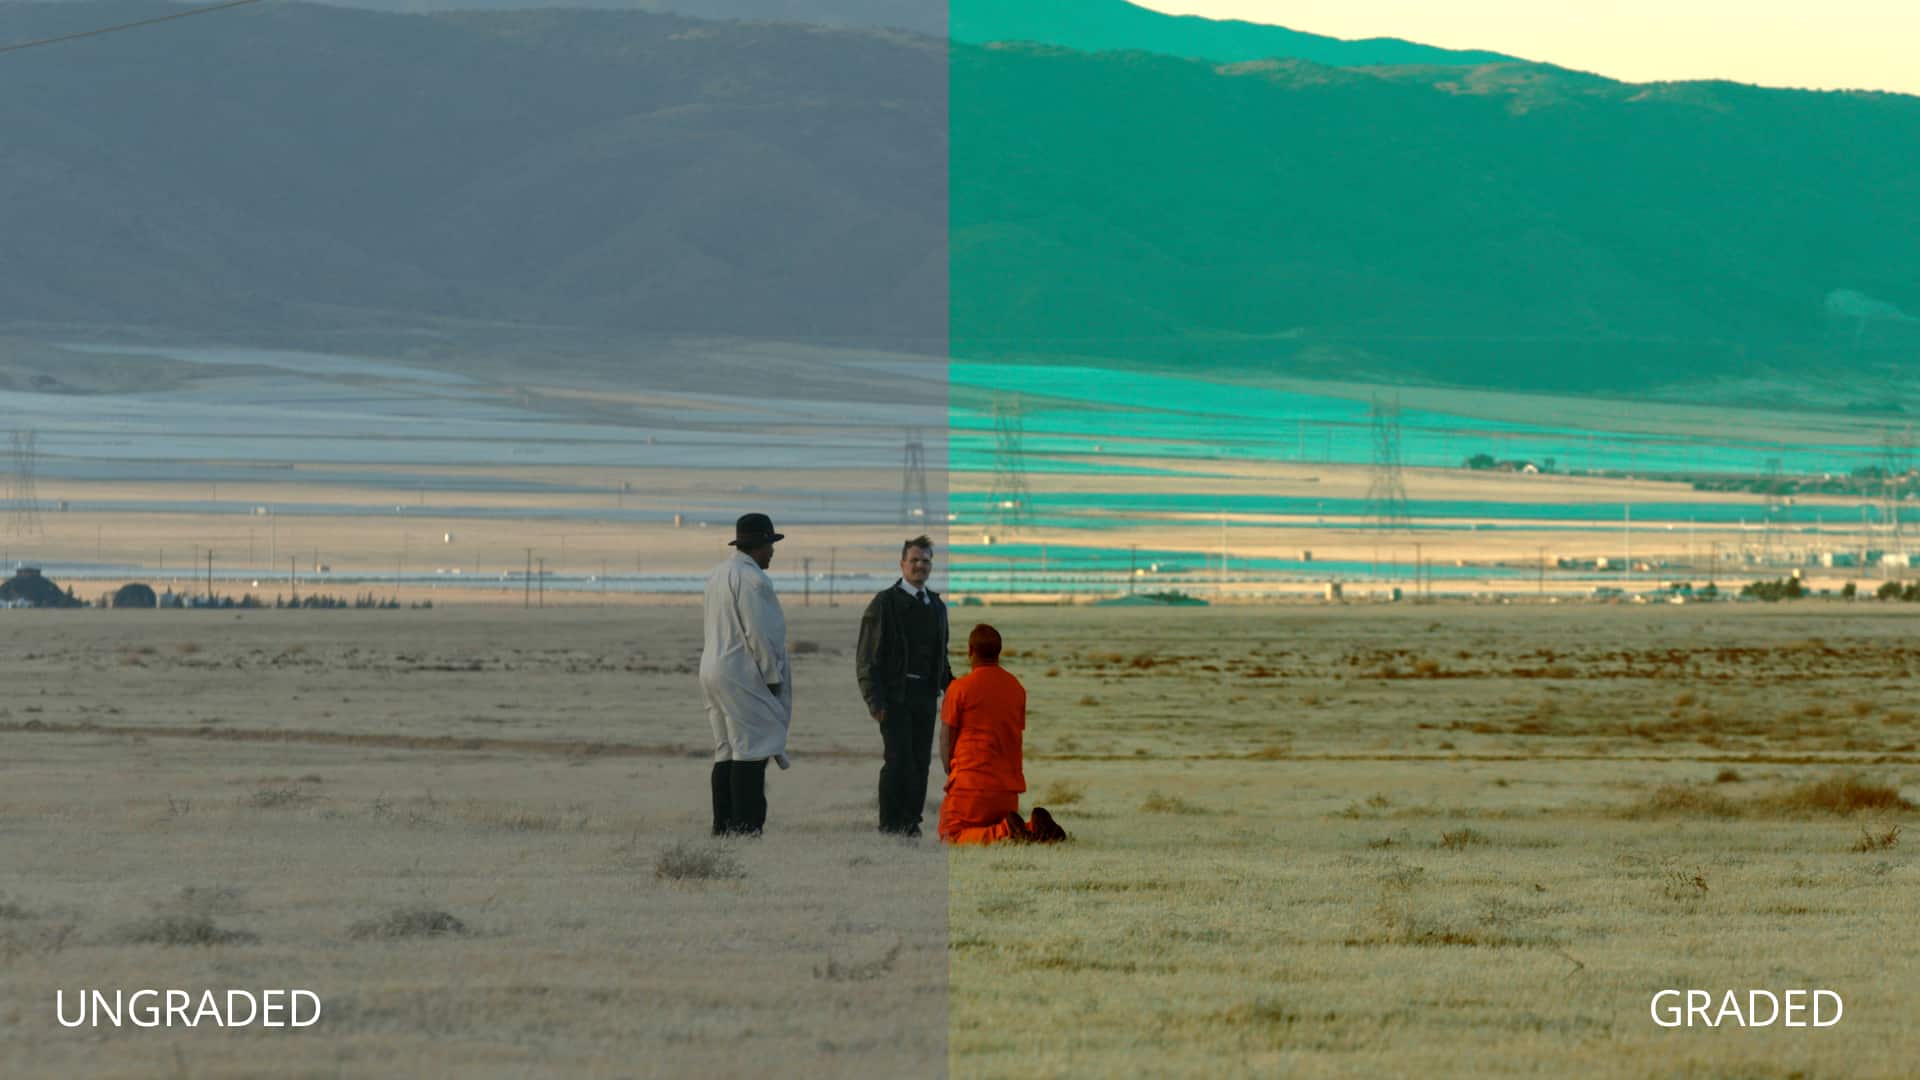
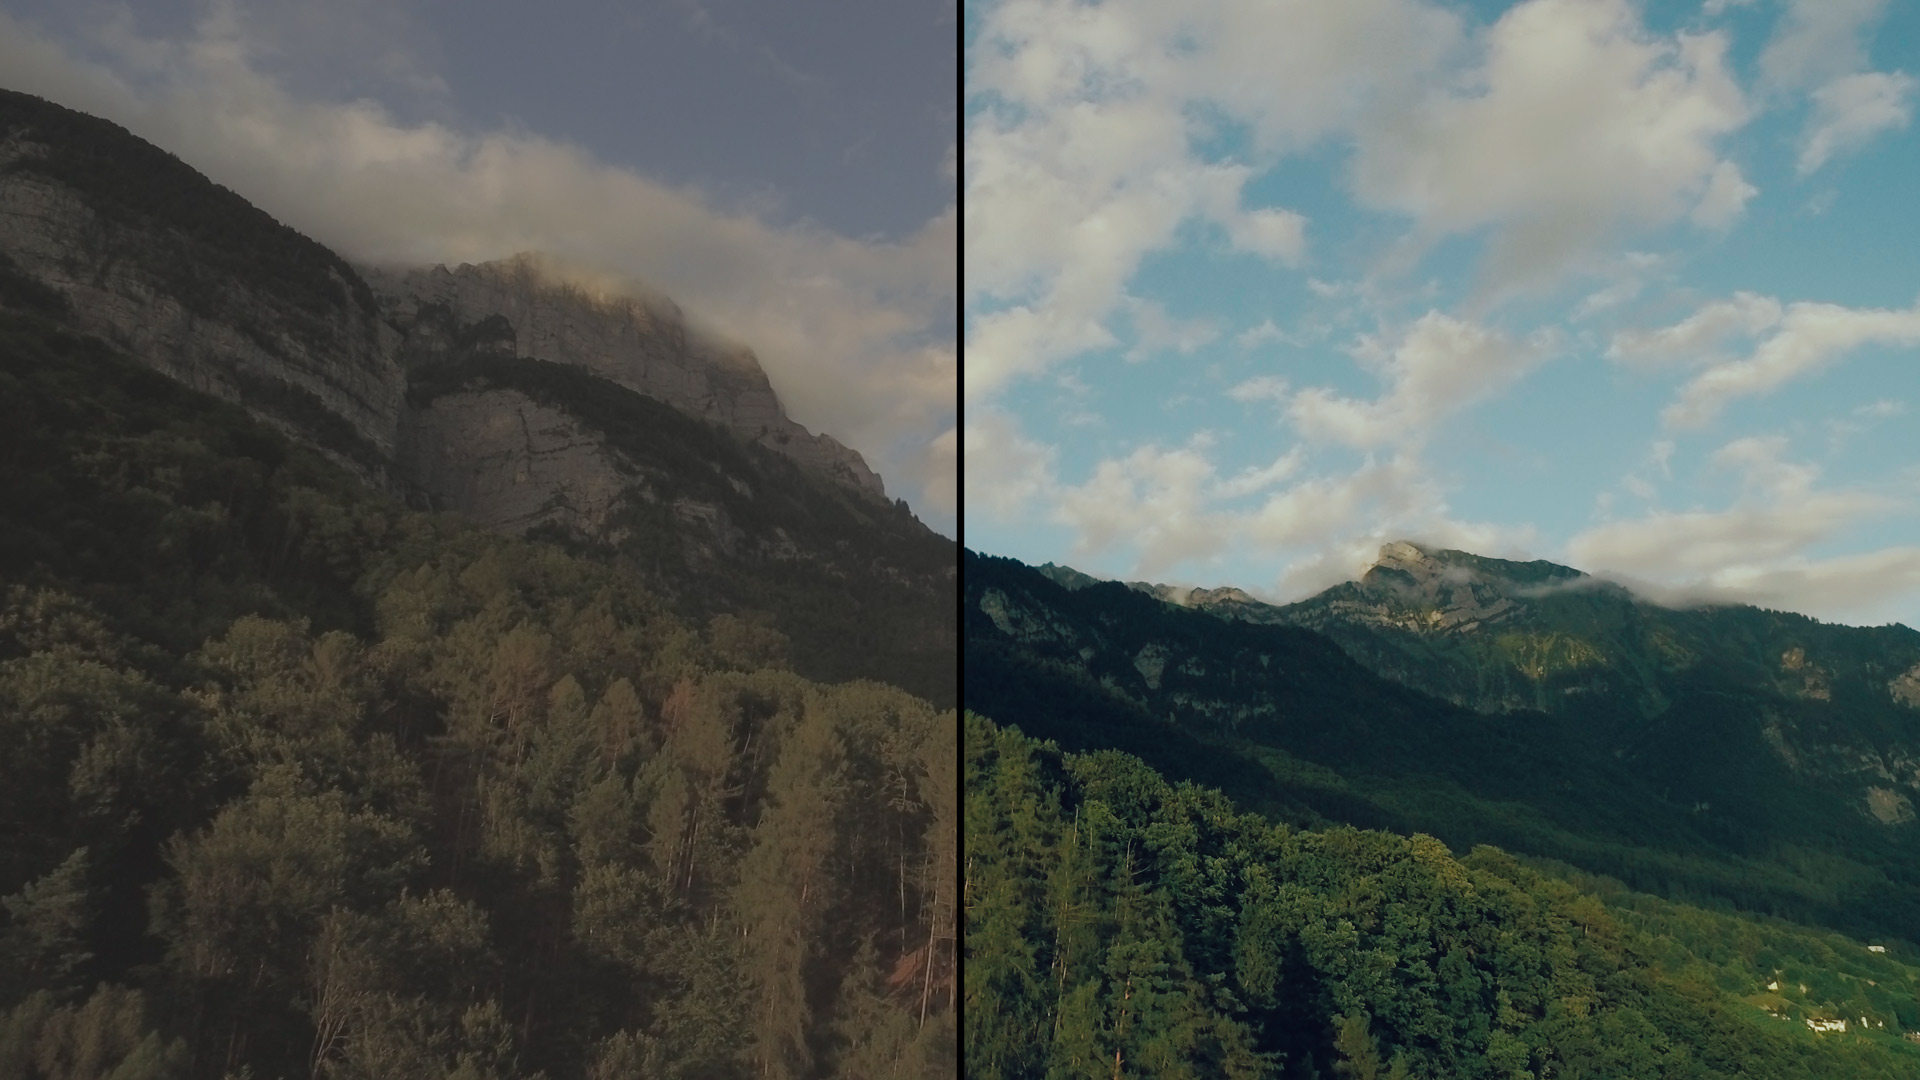
LUT (pronounced like “butt” but with an L at the beginning!) is an acronym for Lookup Table. It’s a giant table of numbers that tells the computer how to take an input colour value (also a number!) and transform it to a different output colour value (new numbers!). Sounds simple, but it works wonders. Every pro film maker and photographer will surely have their pack of favourite LUTs or even their own created LUTs that they attribute to part of their style. You can see the images I looked up online below for before/after comparisons of LUTs in action:
Looks cool? It is and it’s not hard to implement the same LUTs that pros use into our TouchDesigner projects to use with images or even live video using the OpenColorIO TOP.
What is OpenColourIO?
OpenColorIO is a complete colour management framework that was developed for big studios and implemented in all the major softwares to help keep things consistent as pros are moving between different softwares. It’s similar to the new 3D file format USD but for colour management. Luckily we’ve had an OpenColorIO TOP added to TouchDesigner that builds the whole framework right into our regular old TOPs. This TOP can load LUTs as well as perform a lot more advanced colour grading.
Getting some LUTs
Before we dive into TouchDesigner, we need a few LUTs we can use. Thankfully, there are a wealth of free LUTs available online for download. You can do a web search for “free lut download” and you’ll have TONS of links to go. Many of them require you to trade your email address for the free download but they can be worth it. Thankfully, I’ve found a few pages that have free LUT downloads that don’t require the email signup:
https://juanmelara.com.au/blog/print-film-emulation-luts-for-download
Go ahead and download those and unzip them. You’ll have some folders full of .cube files.

We’re ready to jump into TouchDesigner!
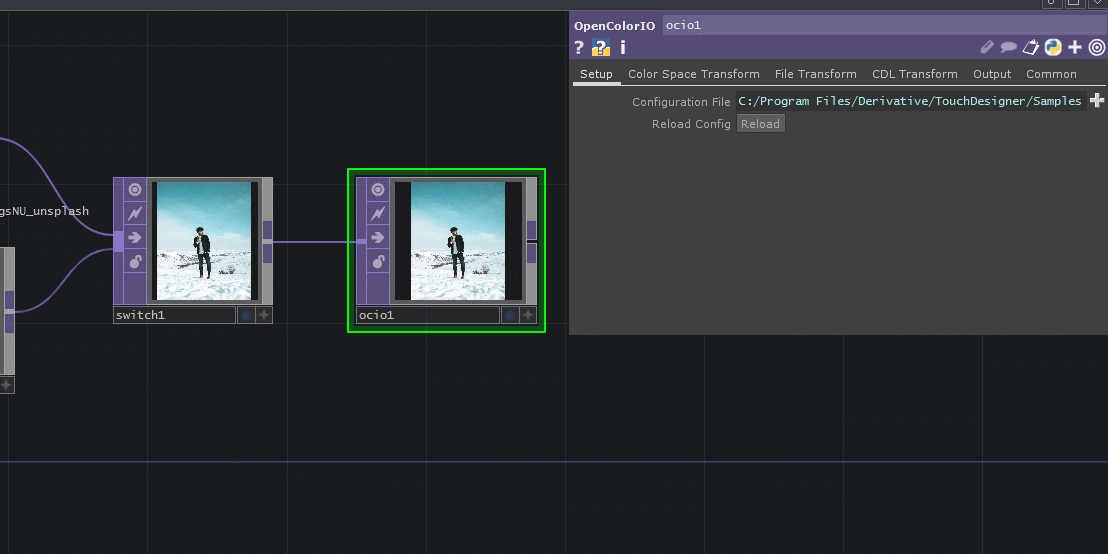
Setting up your network
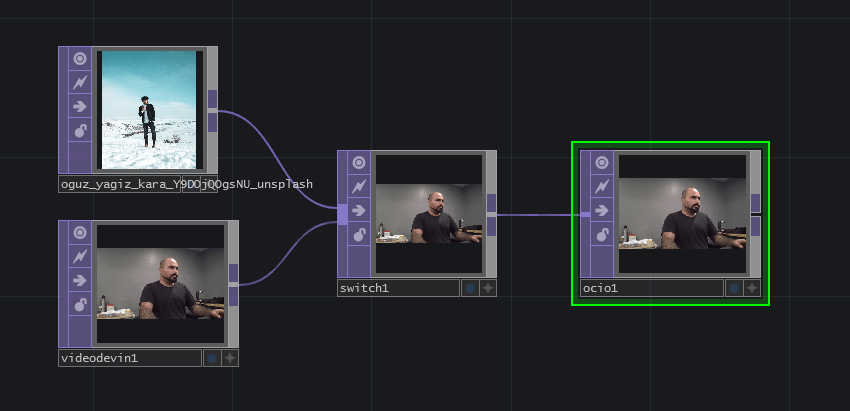
The great thing about all this is how easy it is to setup. All we need is our source and the OpenColorIO TOP. Our source can be anything from live camera feed, movie files, images, or generative art. In this case I grabbed a stock footage of a man standing in some snow and I have my live webcam in a network with my OpenColorIO TOP. I put a Switch TOP before my OpenColorIO TOP so I can switch between the image and the live camera quickly:
Add a LUT Filter
Now for the fun stuff. We have a folder full of .cube files and and OpenColorIO TOP. What we want to do is go to the File Transform page of parameters, turn on Use Transform and then we can navigate to one of our .cube files in the File Source parameter:
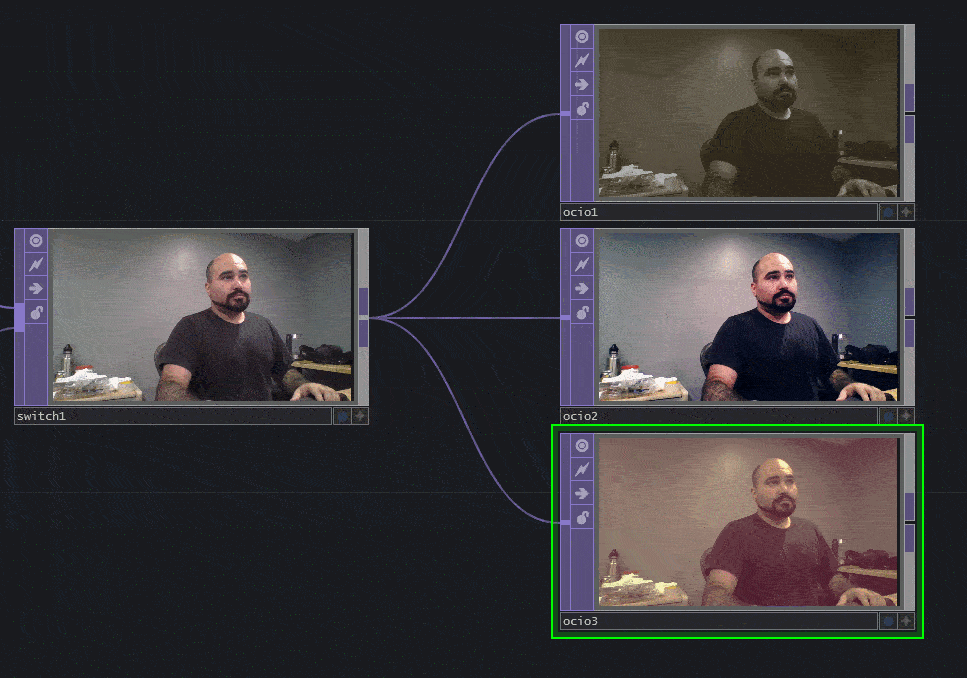
That’s it! It’s that simple to apply a LUT! Let’s look at a few examples of different LUTs applied to the same image. These are all from the 35 Free LUT Pack linked above:


You can clearly see all the creative potential and power of using the OpenColorIO TOP with LUTs. Even more amazing is that in TouchDesigner we can even apply this to real time content! Here I’ve got three different LUTs applied in three different OpenColorIO TOPs on my live webcam to give me a kind of sepia tone, a more contrasted tone, and a faded and warm tone:
Wrap Up: Add a LUT Filter in TouchDesigner
The addition of the OpenColorIO TOP adds a lot of creative power to TouchDesigner. Being able to load LUTs from the whole world of film and photography in just a few clicks changes the game. Now we don’t have to struggle with Level TOPs and tricky kinds of processing just to make camera inputs or generative content look good. We can go online, download or buy some professional grade LUTs and apply them directly to our real time content. This is not only us but impresses our clients greatly! I hope you see how easy it is to dive into the world of LUTs and gain a lot of benefits from it!